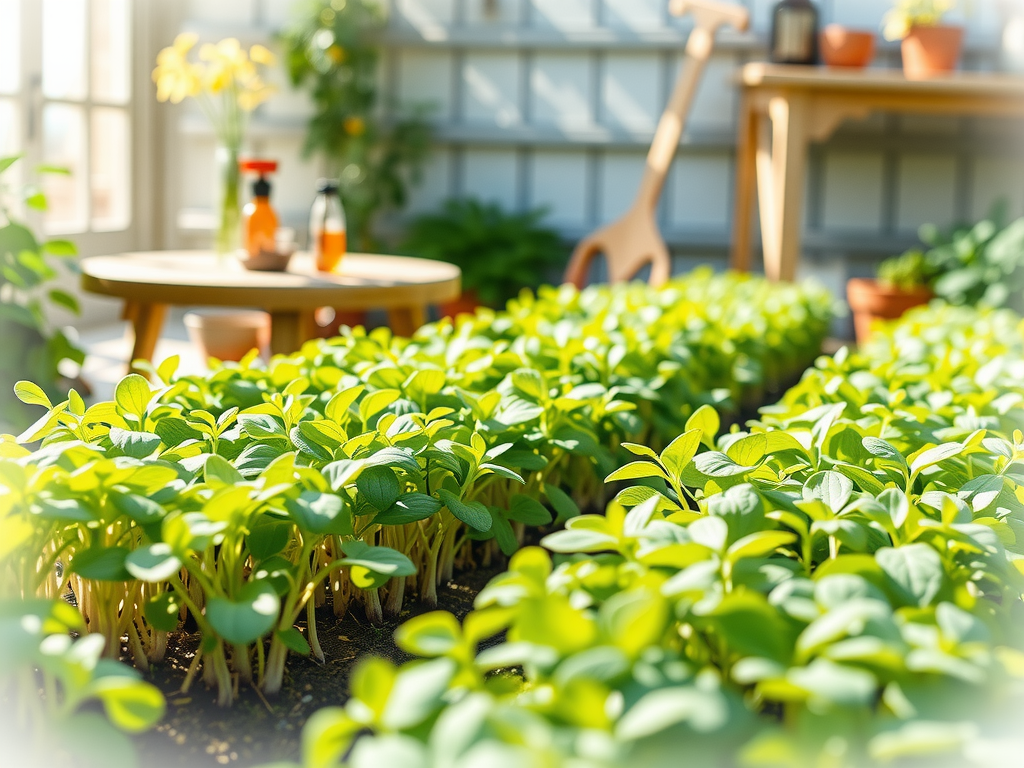
Growing microgreens is an easy way to add fresh, nutrient-rich greens to your diet. In just 7-14 days, you can have delicious microgreens ready to harvest at home.
This guide covers essential information to help beginners grow these edible greens successfully.
Click here to learn more about: best microgreens to grow for beginners
Choosing The Right Microgreens Seeds
Selecting quality seeds improves microgreens growth.
Fresh, organic seeds offer higher germination rates and healthier plants.
Always source seeds from reputable suppliers, like Johnny’s Selected Seeds or High Mowing Organic Seeds.
When considering flavor profiles, choose seeds based on what you enjoy in your meals. Options vary from spicy radish to sweet pea microgreens.
Nutritional considerations are important; for example, broccoli microgreens are rich in vitamins and antioxidants, making them a great choice for your kitchen garden.
Seed Quality Matters
High-quality seeds lead to better crops. Look for seeds that are organic and disease-free.
Seed selection impacts both taste and nutrient density.
Always check for expiration dates and avoid damaged seeds to ensure strong growth.
Flavor Choices
Microgreen varieties offer unique flavors that can enhance your meals.
Popular options include:
– Broccoli
– Sunflower
– Radish
– Pea
Choosing the right microgreens varieties can enhance the taste of your dishes.
Nutritional Considerations
Microgreens pack more nutrients than mature plants. For instance, microgreens like pea shoots contain high levels of vitamins A and C.
This makes them beneficial for healthy eating. Include these nutritious greens in salads, sandwiches, and as garnishes for enhanced flavor.
Preparation Techniques
Seed preparation is key for quick germination.
Soak seeds for 6-8 hours before planting.
This technique helps boost germination rates for varieties such as sunflower and pea.
Utilize the correct growing medium like soil or hydroponic mats for best results.

Conclusion
Microgreens are a quick, economical method to grow nutrient-dense greens at home. Using the right seeds and preparation techniques leads to a successful harvest.
Start your microgreens journey today!
Essential Growing Tips For Beginners
Starting with microgreens can be simple and rewarding. Soil quality matters—good soil supports healthy growth and boosts nutrient density.
Choose a quality growing medium rich in nutrients for optimal results.
For a beginner microgreens guide, consider a starter kit that includes a tray, soil, seeds, and a spray bottle.
Common easy microgreens varieties such as broccoli, sunflower, and radish are great for novices.
Monitoring growth stages is important.
Check daily for moisture and growth. Harvest when greens are 1-2 inches tall.
Keep notes on your progress to track growth patterns effectively.
Microgreens require minimal space and basic tools like shallow trays, growing medium, water, and seeds.
Use these simple tips for successful microgreens:
- Soak seeds for 6-8 hours before planting to boost germination.
- Use bright windowsills or shelves with grow lights for best results.
- Mist regularly to maintain moisture without overwatering.
- Watch for mold and ensure good air circulation.
Understanding Nutrient Density In Microgreens
Healthy microgreens offer higher nutrient levels than mature plants. This advantage means they contain more vitamins and minerals. Studies show that these tiny greens can improve immune function and reduce inflammation.
Nutritional Benefits
Specific microgreens, like kale, arugula, and beet greens, provide excellent nutrition. Microgreens benefits include high levels of vitamins A, C, and E. Many studies indicate these varieties pack higher antioxidant levels compared to their mature counterparts.
Microgreens contain essential nutrients and can enhance your health by adding them to your meals.
Incorporating Microgreens into Meals
Adding microgreens to dishes is easy. Add them to salads, sandwiches, or use as garnishes. For example, topping a sandwich with radish microgreens not only enhances flavor but also delivers nutritious toppings. This practice creates delicious and visually appealing meals.
Microgreens
- Microgreens can contain up to 40 times more nutrients than their mature counterparts.
- Studies have shown that microgreens can improve immune function and reduce inflammation.
- Common microgreens like broccoli and radish are particularly high in vitamins A, C, and E.
- Regular consumption of microgreens can enhance overall health and well-being.
Optimal Light Requirements For Growth
Light is essential for strong microgreens. Proper light exposure boosts growth and flavor quality.
Microgreens thrive with 12-16 hours of light each day.
Natural light is beneficial; however, artificial grow lights, such as LED or fluorescent options, work well for indoor gardening.
To adapt to seasonal changes, adjust the distance of grow lights closer during winter months.
A light meter is an excellent tool to measure light intensity and ensure your plants receive adequate coverage. Proper light not only promotes growth but also enhances the flavor of your microgreens.
Choosing the Right Light Source
- LED Grow Lights: Energy-efficient and long-lasting.
- Fluorescent Lights: Affordable and effective for small spaces.
- Natural Sunlight: Ideal for windowsill gardening, but may need supplementation during winter.
Effective Watering Methods For Microgreens
Watering is important for healthy microgreens. A balance between overwatering and underwatering leads to optimal growth. Water your microgreens until the soil is moist but not soggy to prevent diseases. Mist them daily to keep moisture levels stable.
Using a moisture meter helps accurately gauge soil wetness and avoid common watering mistakes. Avoid letting the soil dry out completely between waterings to ensure your microgreens thrive. Consistent watering practices directly contribute to the success of your indoor farming efforts.
Avoiding Common Mistakes
- Overwatering: This can lead to mold and root rot.
- Underwatering: This can stunt growth and reduce flavor.
Light and Watering for Microgreens
- Microgreens require 12-16 hours of light daily for optimal growth and flavor.
- A light meter ensures your plants receive the right light intensity for healthy development.
- Consistent moisture levels are crucial; misting daily helps maintain humidity and prevent drying out.
- Using a moisture meter can prevent overwatering and underwatering, leading to healthier microgreens.
Exploring Different Microgreen Varieties
Microgreens provide diverse flavors and culinary uses, enhancing home gardening. Here are some popular microgreen varieties:
- Broccoli: Known for its mild flavor, it is rich in vitamins.
- Sunflower: This variety has a nutty taste and crunchy texture, adding depth to meals.
- Radish: Offers a spicy kick, perfect for zesty dishes.
- Pea: Sweet and tender, it resembles snap peas in flavor.
Growing multiple microgreen varieties together optimizes space and crop yield. Ensure that the light requirements and watering methods align across all varieties. A beginner-friendly mix includes broccoli, sunflower, and pea, offering balanced flavor and straightforward growth.
Harvesting Techniques For Maximum Flavor
Timing is key for harvesting microgreens to maximize nutrient retention. Cut your microgreens when they reach 1-2 inches tall, which usually takes 7-14 days after planting. For flavor enhancement, harvest in the morning when their taste peaks.
Follow these tips for effective harvesting:
- Use sharp harvesting scissors for clean cuts, minimizing damage to the plants.
- Store your microgreens in a breathable container in the refrigerator.
- Consume them within a week to maintain freshness and flavor.
Microgreens are packed with nutrients and are versatile for various culinary uses. They require minimal space and basic tools, making them suitable for indoor gardening on windowsills.
Common varieties, like broccoli and sunflower, make great options for beginners. Ensure to soak seeds for 6-8 hours to boost germination, and provide ideal light exposure for optimal growth. With proper care, you can enjoy delicious and nutritious greens in your meals.
Microgreens
- Microgreens can contain up to 40 times more nutrients than their mature counterparts.
- They typically grow quickly, with most varieties ready to harvest within 7-14 days.
- Microgreens can be grown indoors with minimal equipment, making them accessible for urban gardeners.
- Incorporating microgreens into meals can enhance flavor profiles and add visual appeal to dishes.
Benefits Of Indoor Farming With Microgreens
Indoor farming boosts accessibility to fresh greens. Microgreens are young vegetable greens harvested just after the first true leaves develop.
They are packed with nutrients and can be grown indoors in 7-14 days.
This method supports convenience for busy households by providing a quick harvest of nutritious food.
Space Efficiency
Growing microgreens requires minimal space, making it ideal for urban settings.
A practical tip for setting up is to use a small, sunny windowsill with shallow trays. Basic tools needed include:
- Shallow trays
- Growing medium (soil or mats)
- Seeds
- Water
Success Stories
A success story comes from an urban farm that supplies fresh microgreens to local markets. This initiative reduces food deserts in the city and promotes sustainable eating habits. Many urban gardeners are inspired by these efforts to embrace indoor gardening for fresh produce.
Overall, microgreens are an economical and efficient way to produce nutrient-dense greens at home. They enhance meals with unique flavors and offer a practical solution for kitchen gardening.
Indoor Farming with Microgreens
- Microgreens can contain up to 40 times more nutrients than their mature counterparts.
- Indoor farming can reduce transportation emissions, as produce is grown closer to consumers.
- Microgreens can be grown year-round, providing a consistent supply of fresh greens regardless of season.
- Studies show that growing your own food can improve mental well-being and encourage healthier eating habits.


