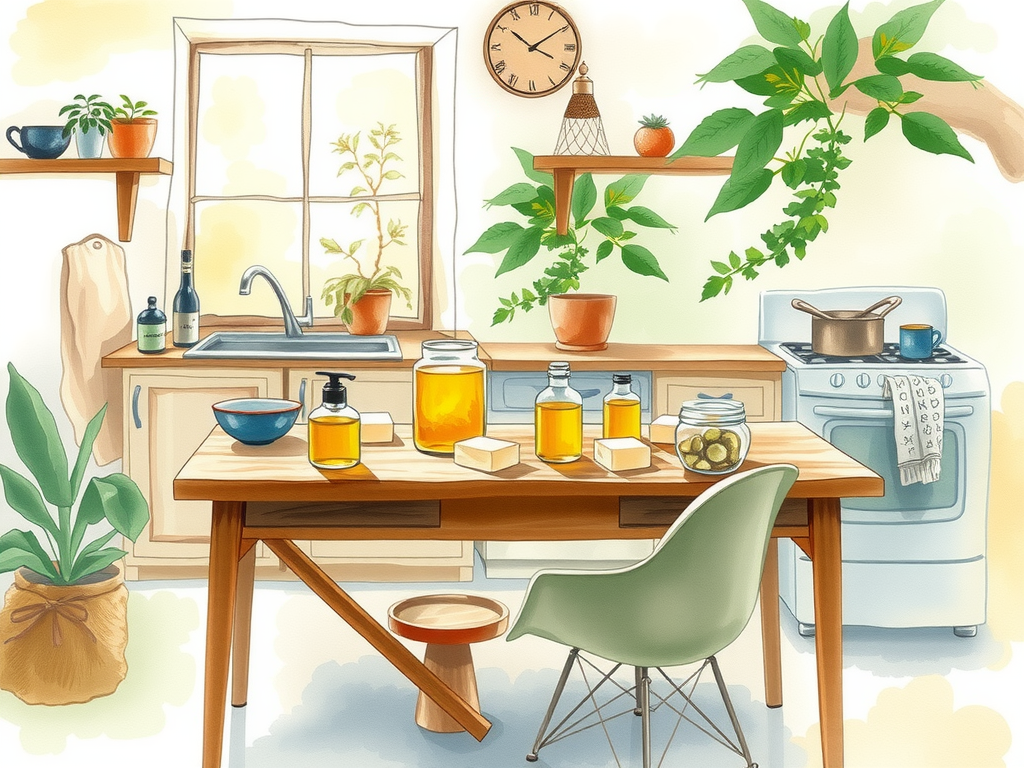
Making soap at home is a fun and useful skill. It allows for creativity in crafting DIY soap using natural ingredients.
This guide shows the basic steps to create your own soap.
Get ready to explore soap crafting!
- Control your ingredients: Choose your oils and scents for better soap.
- Save money: Homemade soap can cost less than store-bought options.
Click here to learn more about: how to make homemade soap at home
Saponification And Its Process
Saponification transforms oils into soap. This chemical reaction occurs when oils mix with lye (sodium hydroxide). Accurate measurements of all ingredients ensure successful soap making.
Maintaining the right temperature during saponification is key. Aim for temperatures between 100-120°F. This control helps ensure a smooth reaction. Using a thermometer to check both the lye solution and oil temperature can enhance your results.
- Measure carefully: Use a scale for accuracy with oils and lye.
- Temperature control: Helps ensure a successful saponification process.
Process Overview
To create soap, gather your ingredients and tools first. Use oils like olive, coconut, or shea butter. You will also need lye (sodium hydroxide) and water. Add optional ingredients like essential oils for fragrance or natural colorants for color.
Prepare the workspace by ensuring it is clean and organized. Always wear safety gear like gloves and goggles when handling lye.
- Create the lye solution: Carefully mix lye into water. Let it cool to the same temperature as the oils.
- Blend ingredients: Melt and mix solid and liquid oils with the lye solution.
- Process to trace: Blend until the mixture thickens slightly, reaching trace.
- Pour and mold: Pour the mixture into prepared silicone soap molds and cover.
- Cure the soap: Unmold and slice into bars. Let cure for 4-6 weeks to harden fully.
Using a lye calculator ensures proper ratios of oils and sodium hydroxide for successful saponification. Remember to follow all safety protocols while making soap.
Homemade soap can be a sustainable and skin-friendly alternative to store-bought versions.

Essential Oils For Homemade Soap Benefits
Essential oils in homemade soap increase both its properties and aroma. These oils have diverse therapeutic benefits.
For instance, lavender offers calming effects.
Tea tree oil provides antibacterial properties.
A popular combination is lavender and eucalyptus, which results in a soothing scent. Mixing peppermint with citrus oils creates an energizing experience.
Statistics show that over 50% of soap makers use essential oils for their benefits.
Essential oils significantly improve the sensory quality of soap.
Blending different oils can amplify their therapeutic effects. This provides an enriching and skin-friendly experience.
Using natural ingredients makes your soap unique and beneficial.
How To Use Silicone Molds Effectively
Silicone molds are a great choice for soap making.
These molds simplify the process and are flexible.
This flexibility allows easy removal of your soap bars without breakage. Silicone molds are dishwasher safe, making cleaning effortless.
Tip: Lightly coat your molds with oil to prevent sticking.
Allowing the soap to cool completely before unmolding yields the best results.
Using silicone molds enhances your experience. They promote creativity and efficiency in your DIY soap projects.
Essential Oils and Silicone Molds
- Essential oils enhance the therapeutic properties of homemade soap.
- Over 50% of soap makers incorporate essential oils for improved aroma and benefits.
- Silicone molds allow for easy removal of soap bars, reducing the risk of breakage.
- Using silicone molds can boost creativity and efficiency in soap making projects.
What Is The Cold Process Soap Method
Cold process soap making is a method that combines oils and lye without applying external heat. This technique retains the benefits of natural oils better than hot process soap, making it a preferred choice among DIY soap makers.
The precision of this process is key; temperatures should ideally range between 100-120°F, and timing is critical to ensure successful saponification.
To enhance both color and texture in your cold process soap, consider using natural colorants and additives like oatmeal.
This adds an attractive finish and unique properties to your soap bars, making them even more appealing. Use essential oils to introduce custom fragrances and promote skin-friendly benefits.
Steps for Making Cold Process Soap
- Gather ingredients like oils (coconut, olive), water, and sodium hydroxide.
- Prepare a clean workspace and wear safety gear such as gloves and goggles.
- Create your lye solution by slowly mixing sodium hydroxide into water.
- Blend solid and liquid oils, then mix them with the lye solution.
- Continue blending until the mixture reaches the trace stage, thickening slightly.
- Pour the mixture into silicone molds and cover them.
- Allow soap to cure for 4-6 weeks before unmolding.
Safety Gear For Working With Lye Solution
Ensuring safety during soap making is essential. Handling lye requires careful precautions to protect yourself. Always wear protective gear, such as gloves, goggles, and long-sleeve shirts, to shield your skin from caustic soda.
Lye can cause burns, so following safety protocols is necessary.
A checklist for beginners should include:
- Safety goggles
- Chemical-resistant gloves
- Long-sleeve shirt
- Ventilated workspace
Always mix your lye solution in a well-ventilated area to avoid inhaling any fumes. Proper safety gear significantly reduces the risk of injuries during your soap crafting experience.
Cold Process Soap Making
- Cold process soap retains the natural benefits of oils better than hot process soap.
- Proper temperature control during saponification is crucial for successful soap making.
- Natural colorants and additives enhance the aesthetic and functional qualities of soap.
- Wearing safety gear significantly reduces the risk of injuries when handling lye.
Exploring Natural Ingredients For Soap Crafting
Natural ingredients significantly improve the quality of your soap. When sourcing quality ingredients, consider organic options.
Organic additives are safer and better for skin health than synthetic ones.
Synthetic additives may cause irritation or allergic reactions.
A unique natural ingredient to try is oatmeal; it adds gentle exfoliation and texture to your soap. Integrating such ingredients not only improves the final product but also makes your DIY soap more appealing.
By choosing natural options, you contribute to a sustainable crafting process.
Benefits of Organic Ingredients
Organic ingredients help ensure your soap is skin-friendly. Many users prefer handmade soap because it avoids harsh chemicals.
Statistics show that over 60% of consumers choose organic products for their perceived health benefits.
Example of a Unique Natural Ingredient
Another interesting natural ingredient is honey.
It acts as a natural moisturizer in homemade soaps.
Adding honey can enhance the soap recipe by providing anti-bacterial properties.
Tips For Achieving Perfect Soap Trace
Achieving adequate trace is essential in the saponification process. To check for trace consistency, consider using the spoon drip method; the mixture should leave a trail when dripped from a spoon.
Another effective technique is visual inspection, looking for slight thickening on the surface. To achieve your desired trace more easily, use an immersion blender.
This tool speeds up blending, helping you reach the right consistency quicker.
Mastering trace is essential for effectively pouring your soap bar.
Importance of Soap Trace
The soap trace stage is where your mixture reaches the right thickness.
This thickness indicates that the chemical reaction is occurring. Proper trace ensures that added ingredients blend well into the mixture.
Techniques for Checking Trace
Using a lye calculator helps ensure the correct ratios of oils and sodium hydroxide.
Checking trace helps prevent issues later in the curing process. Most soap makers prefer a light to medium trace for easy pouring.
Natural Ingredients in Soap Crafting
- Over 60% of consumers prefer organic products due to perceived health benefits.
- Organic additives are safer for skin health compared to synthetic options.
- Oatmeal provides gentle exfoliation and enhances the texture of soap.
- Honey offers natural moisturizing and anti-bacterial properties in homemade soaps.
How To Customize Fragrances In Soap Recipes
Customizing fragrances in soap recipes enhances your DIY soap. Differentiate between fragrance oils and essential oils to achieve the best results.
Fragrance oils offer a stronger aroma, making them suitable for bold scents.
Essential oils provide natural benefits, but their potency may lessen during the saponification process.
Steps to Balance Scents
Start by selecting a base scent.
Gradually add other scents to prevent overpowering aromas. Here are some tips to help you:
- Mix Small Amounts: Start with small batches to find the right balance.
- Adjust as Needed: Change the amounts until you achieve your desired fragrance.
- Take Notes: Document your blends for future reference.
Experimentation is key to creating the perfect blend!
By focusing on balancing scents, you can craft a unique and enjoyable soap experience. Remember to consider the role of each ingredient during the soap-making process.
Customizing Fragrances in Soap
- Fragrance oils can last longer in soap compared to essential oils, which may dissipate during saponification.
- Essential oils can provide therapeutic benefits, such as relaxation or invigorating effects, depending on the type used.
- Creating small batches allows for easier adjustments and experimentation with different scent combinations.
- Documenting fragrance blends helps in replicating successful recipes in future soap-making projects.


