Understanding Water Harvesting for Homesteaders
Water harvesting is the practice of collecting, storing, and managing rainwater and surface runoff for later use on your homestead.
As water scarcity becomes an increasing concern globally, implementing effective water harvesting systems has become essential for sustainable homesteading.
Why Water Harvesting Matters
For homesteaders, water harvesting offers multiple benefits:
- Reduced water bills – Harvested water can significantly decrease reliance on municipal or well water
- Drought resilience – Stored water provides a buffer during dry periods
- Improved soil health – Properly managed water harvesting reduces erosion and increases soil moisture
- Self-sufficiency – Less dependence on external water sources
- Environmental benefits – Reduces stormwater runoff and recharges groundwater
Types of Water Harvesting Systems
1. Rainwater Collection from Roofs
The most common and accessible method for homesteaders is collecting rainwater from roof surfaces. A typical system includes:
- Gutters and downspouts – Channel water from the roof
- First flush diverters – Remove initial dirty water containing debris
- Storage tanks – Hold collected water (ranging from 50 to 10,000+ gallons)
- Filtration systems – Remove contaminants for various uses
- Distribution systems – Pumps or gravity-fed systems to deliver water
Calculation: A 1,000 square foot roof can collect approximately 600 gallons of water from 1 inch of rainfall.
2. Swales and Berms
Swales are shallow trenches dug along contour lines that slow, spread, and sink water into the landscape. They’re particularly effective for:
- Preventing erosion on slopes
- Recharging groundwater
- Creating microclimates for plantings
- Managing large volumes of runoff
Design considerations: Swales should be level along their length, typically 2-4 feet wide and 1-2 feet deep, with the excavated soil forming a berm on the downhill side.
3. Ponds and Reservoirs
Larger-scale water storage through ponds offers substantial capacity for irrigation, livestock, and aquaculture. Key factors include:
- Site selection – Natural depressions or areas with clay soil for water retention
- Sizing – Based on catchment area, rainfall, and water needs
- Spillways – Prevent overflow damage during heavy rains
- Sealing – Clay liners or synthetic liners if natural sealing is insufficient
4. Dry Wells and Infiltration Basins
These systems focus on groundwater recharge rather than storage, allowing water to percolate into the soil. They’re ideal for:
- Areas with high water tables
- Managing roof runoff without storage tanks
- Improving soil moisture in orchards and food forests
Storage Solutions
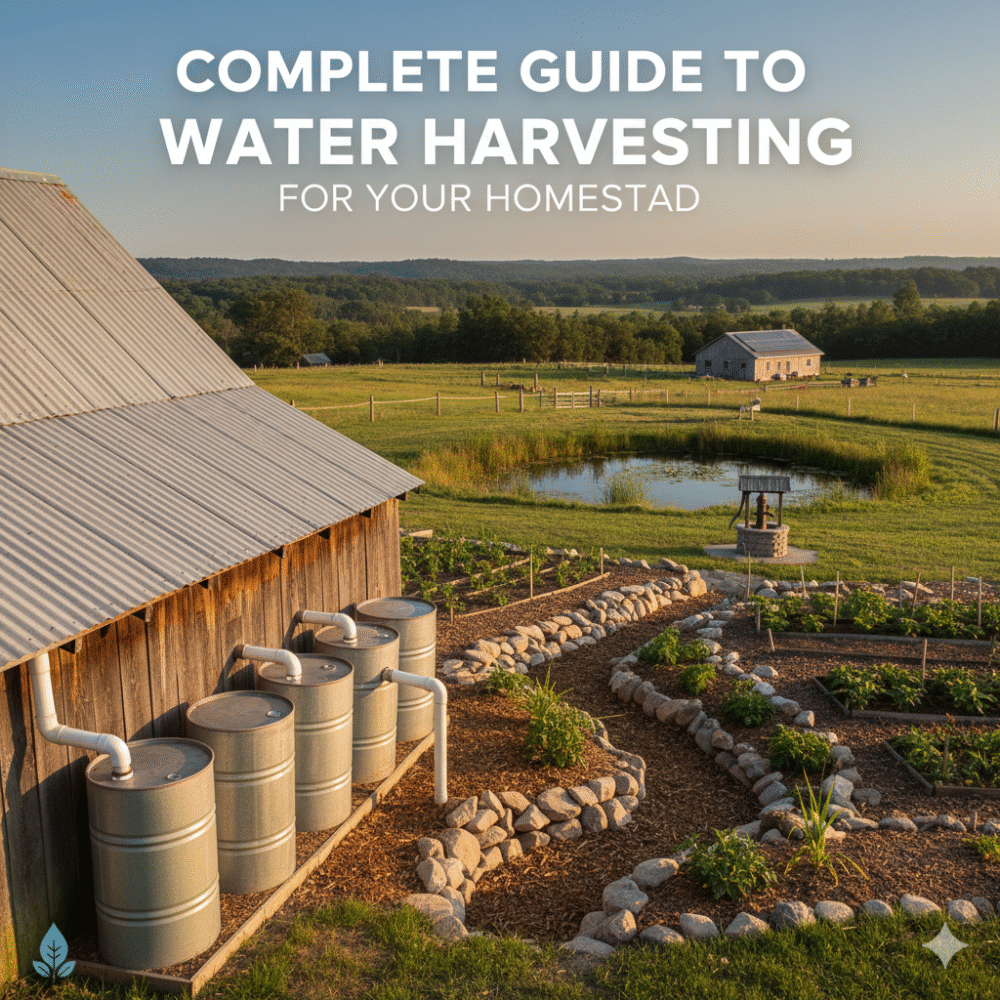
Above-Ground Tanks
Pros: Easy installation, accessible for maintenance, gravity-fed distribution possible
Cons: Visible, potential freezing in cold climates, UV degradation
Materials: Polyethylene, fiberglass, galvanized steel, or food-grade plastic
Underground Cisterns
Pros: Protected from freezing and UV, doesn’t take up surface space, maintains cooler water temperature
Cons: Higher installation cost, requires pumping, more difficult to inspect and maintain
Materials: Concrete, fiberglass, or plastic
Flexible Bladder Tanks
Pros: Can fit in crawl spaces or under decks, collapsible when not in use
Cons: More expensive per gallon, potential puncture risk
Best for: Temporary storage or space-constrained situations
Filtration and Treatment
The level of treatment needed depends on intended use:
For Garden Irrigation (Minimal Treatment)
- Screen filters to remove debris
- First flush diverters
For Livestock (Moderate Treatment)
- Sediment filters
- UV sterilization or chlorination
For Household Use (Comprehensive Treatment)
- Multi-stage filtration (sediment, carbon, fine filters)
- UV sterilization
- Regular water quality testing
- Possible reverse osmosis for drinking water
Important: Check local regulations regarding rainwater use for potable purposes. Many jurisdictions have specific requirements.
System Design Considerations
Calculate Your Water Needs
Start by estimating your water requirements:
- Garden irrigation: 1-2 inches per week during growing season
- Livestock: Varies by animal (chickens: 0.5 gal/day, goats: 2-3 gal/day, cattle: 10-20 gal/day)
- Household use: Average 80-100 gallons per person per day
Assess Your Catchment Potential
Formula: Catchment Area (sq ft) × Rainfall (inches) × 0.623 = Gallons collected
Example: A 2,000 sq ft roof in an area with 30 inches annual rainfall:
2,000 × 30 × 0.623 = 37,380 gallons per year potential
Size Your Storage
Consider:
- Longest dry period in your region
- Peak water demand periods
- Budget constraints
- Available space
A general rule: Store enough water for 2-4 weeks of typical use during your dry season.
Legal Considerations
Water rights laws vary significantly by location:
- Western US states: Some have restrictions based on prior appropriation doctrine
- Eastern US states: Generally more permissive under riparian rights
- Urban areas: May have specific codes for rainwater harvesting systems
- Building permits: Often required for large storage tanks or ponds
Action item: Contact your local water authority, county extension office, or building department to understand regulations in your area.
Cost-Benefit Analysis
Initial Investment
- Basic roof collection (500 gal): $500-$2,000
- Comprehensive system (2,500 gal): $3,000-$8,000
- Large-scale system (10,000+ gal): $10,000-$30,000+
- Pond construction: $1,500-$5,000 per acre-foot
Payback Period
Depends on:
- Cost of municipal/well water in your area
- Volume of water harvested and used
- Available incentives or rebates
- DIY vs. professional installation
Typical payback: 5-15 years for residential systems, though the value of water security during droughts is harder to quantify.
Maintenance Requirements
Regular Tasks
- Monthly: Check gutters and screens for debris, inspect first flush diverters
- Quarterly: Clean filters, check tank for sediment, inspect for leaks
- Annually: Deep clean tanks, test water quality, inspect all connections and seals
- Seasonally: Prepare for freezing weather (drain or insulate), clear vegetation from swales
Common Issues and Solutions
- Algae growth: Keep tanks covered and opaque, add small amounts of bleach if needed
- Mosquitoes: Ensure all openings have fine mesh screens
- Sediment buildup: Install sediment traps, clean regularly
- Freezing: Insulate pipes and tanks, or drain systems in winter
Getting Started: A Phased Approach
Phase 1: Simple Roof Collection
Start with one or two rain barrels (50-100 gallons) connected to downspouts. Cost: $100-$300. Use for garden irrigation.
Phase 2: Expanded Storage
Add larger tanks (500-1,000 gallons) with basic filtration. Cost: $500-$2,000. Expand uses to include livestock watering.
Phase 3: Comprehensive System
Install multiple large tanks or cistern, complete filtration, and distribution system. Cost: $3,000-$10,000+. Can support significant household and agricultural needs.
Phase 4: Landscape Integration
Add swales, ponds, or other earthworks to manage water at the landscape level. Cost varies widely. Creates resilient, water-wise homestead.
Conclusion
Water harvesting is one of the most impactful investments a homesteader can make. By capturing and storing rainwater, you increase your self-sufficiency, reduce costs, and build resilience against drought and water restrictions.
Start small with a simple rain barrel system, learn from experience, and gradually expand your water harvesting infrastructure as your needs and budget allow.
The key is to begin now—every gallon of rainwater you harvest is a gallon you don’t need to pump from the ground or pay for from the municipality. Your future self (and your homestead) will thank you.