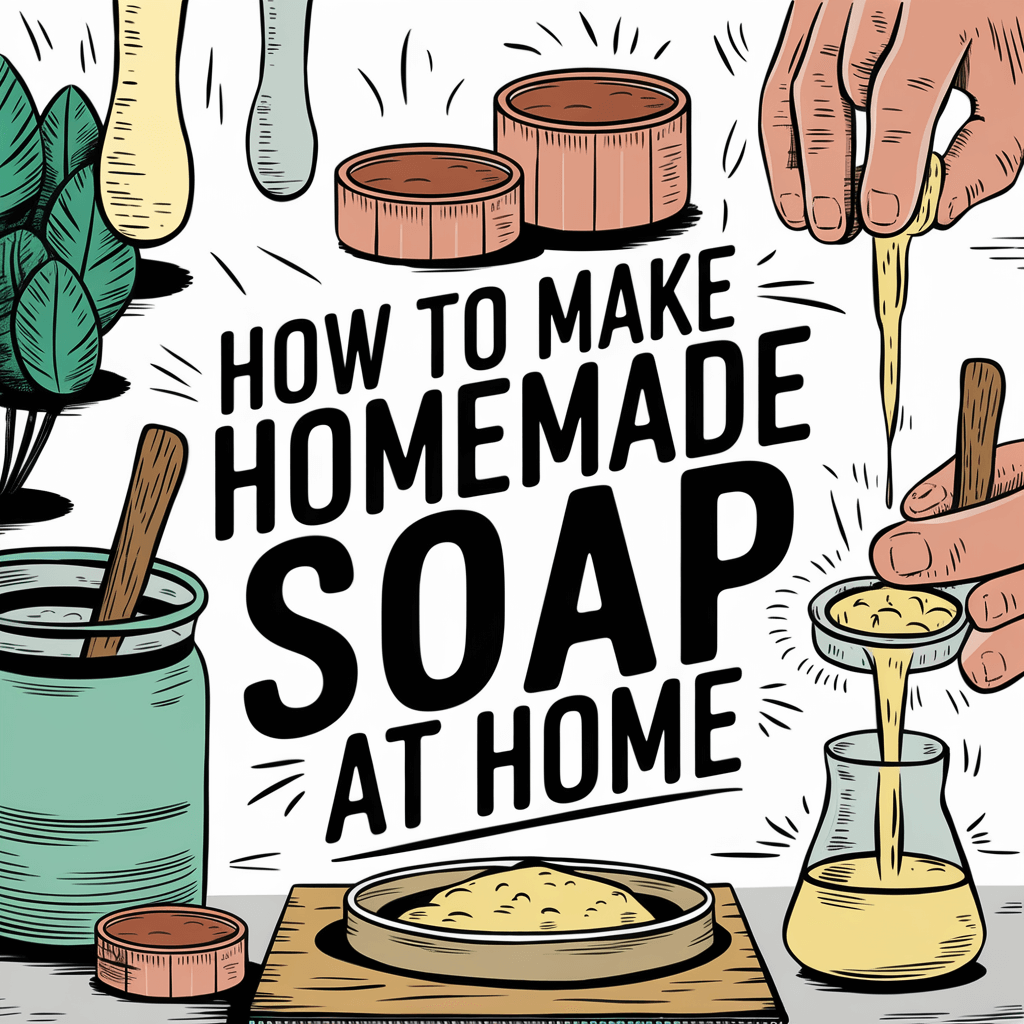
If you’ve ever wanted to learn homemade soap recipes or explore DIY soap making, you’re in the right place!
As both a homesteader practicing regenerative agriculture and an experienced soap maker, I’m excited to share everything I know about natural soap making at home.
This complete guide will take you from complete beginner to confident soap maker.
Introduction to Soap Making
The art of soap making has experienced a renaissance in recent years, with more people seeking natural alternatives to commercial products.
Whether you’re interested in creating custom soap making ideas or looking for easy soap making for beginners, this guide covers everything you need to know.
Why Make Your Own Soap?
Making your own soap isn’t just a rewarding hobby – it’s a step toward self-sufficiency and sustainable living. Here’s why you should consider it:
- Complete control over ingredients, ensuring your soap is truly natural
- Ability to customize properties for specific skin types
- Cost-effective once you have the basic supplies
- Reduction in plastic packaging waste
- Perfect for creating thoughtful, handmade gifts
- Opportunity to support local suppliers
- Therapeutic creative outlet
- Potential for a home-based business
Benefits of Homemade Soap
The advantages of using homemade soap extend far beyond the satisfaction of creating something yourself:
- Skin Health Benefits:
- No harsh synthetic detergents
- Natural glycerin content remains intact
- Customizable for sensitive skin
- Can address specific skin conditions
- Rich in natural oils and butters
- Environmental Impact:
- Reduced packaging waste
- Control over sustainable ingredients
- Lower carbon footprint
- Support for small-scale suppliers
- Biodegradable ingredients
- Economic Benefits:
- Bulk ingredient purchasing saves money
- Multiple batches from one supply purchase
- Potential income stream
- Reduced need for multiple products
- Great for bartering
Essential Ingredients and Tools for Soap Making
Key Ingredients
Understanding your ingredients is crucial for successful soap making. Here’s a comprehensive breakdown:
- Base Oils (Choosing Your Oils Wisely):
- Olive Oil:
- Creates a mild, moisturizing bar
- Slow to trace but worth the wait
- Produces long-lasting soap
- Great for sensitive skin
- Used in traditional Castile soap
- Coconut Oil:
- Provides excellent lather
- Creates hardness in the bar
- Cleansing properties
- Can be drying if used in high percentages
- Shelf-stable and reliable
- Palm Oil:
- Adds hardness to bars
- Creates stable lather
- Look for sustainable sources
- Good alternative to animal fats
- Economical choice
- Castor Oil:
- Boosts lather
- Adds conditioning properties
- Used in small percentages
- Helps stabilize scents
- Draws moisture to the skin
- Sweet Almond Oil:
- Light, non-greasy feel
- Rich in vitamins
- Good for all skin types
- Mild and gentle
- Easily absorbed
- Olive Oil:
- Lye (Sodium Hydroxide):
- Essential for saponification
- Must be food-grade quality
- Always add to water, never reverse
- Store in airtight container
- Requires careful handling
- Available in different forms (flakes, pellets)
- Liquid Component:
- Distilled water
- Goat’s milk
- Coconut milk
- Herbal teas
- Beer or wine
- Fresh juice
- Optional Additives: Natural Colorants:
- Clays (various colors)
- Spices (turmeric, paprika)
- Herbs (spirulina, alkanet)
- Oxides and micas
- Activated charcoal
- Root powders
- Dried flowers
- Ground oatmeal
- Coffee grounds
- Poppy seeds
- Dried herbs
- Honey
Tools You’ll Need
A well-equipped soap making workspace requires specific tools:
- Safety Equipment:
- Chemical-resistant goggles
- Heavy-duty rubber gloves
- Long-sleeve protective clothing
- Closed-toe shoes
- Face mask for lye mixing
- First aid supplies
- Mixing and Measuring Tools:
- Digital scale (must measure in grams)
- Accurate thermometer
- Stainless steel bowls
- Heat-resistant containers
- Immersion blender
- Silicone spatulas
- Measuring spoons
- Glass measuring cups
- Molding and Curing Equipment:
- Silicone molds
- Wooden molds with liner
- Cutting tools
- Curing racks
- pH testing strips
- Packaging materials
Safety Precautions for Soap Making
Handling Lye Safely
Safety is paramount when making soap from scratch. Follow these detailed guidelines:
- Workspace Setup:
- Well-ventilated area (preferably with fan)
- Clean, clear workspace
- No children or pets allowed
- All surfaces covered
- Emergency supplies ready
- Clear path to sink/eyewash
- Posted emergency numbers
- Written procedures visible
- Personal Protection:
- Wear proper safety gear
- No exposed skin
- Tie back long hair
- No dangling jewelry
- Wear closed-toe shoes
- Keep vinegar nearby
- Know first aid steps
- Mixing Procedures:
- Add lye to water slowly
- Stir carefully to avoid splashing
- Allow fumes to dissipate
- Monitor temperature
- Label all containers
- Use proper containers
- Never use aluminum
Common Mistakes to Avoid
Learn from others’ experiences by avoiding these pitfalls:
- Recipe Errors:
- Not using a lye calculator
- Eyeballing measurements
- Incorrect oil ratios
- Wrong water amount
- Miscalculated additives
- Process Mistakes:
- Rushing trace
- Wrong temperatures
- Poor mixing technique
- Incorrect mold preparation
- Premature cutting
- Safety Oversights:
- Inadequate ventilation
- Missing safety gear
- Unmarked containers
- Distracted working
- Rushed procedures
Step-by-Step Guide to DIY Soap Making
Melt and Pour Soap Techniques
Perfect for beginners, this method requires no lye handling:
Basic Recipe:
- 2 pounds melt-and-pour base
- 30-40 drops essential oil
- Natural colorant (optional)
- Dried herbs or flowers (optional)
Detailed Steps:
- Prepare your workspace and tools
- Cut base into 1-inch cubes
- Melt in microwave (30-second bursts)
- Heat to 120-125°F
- Add fragrance and color
- Pour into molds
- Spray with alcohol to remove bubbles
- Let set for 4-6 hours
- Remove from molds
- Package as desired
Summary and Checklist
After mastering the basics, many soap makers explore advanced techniques and develop their own custom recipes. Remember to:
- Always prioritize safety
- Keep detailed notes
- Start with simple recipes
- Join soap making communities
- Never stop learning
- Document your successes and failures
Cold Process Soap Tutorial
The cold process method is considered the traditional way to make soap from scratch. It gives you complete control over ingredients and produces high-quality bars.
Classic Cold Process Recipe:
- 16 oz coconut oil
- 14 oz olive oil
- 2 oz castor oil
- 4.7 oz lye
- 11 oz distilled water
- Essential oils (optional)
- Natural colorants (optional)
Detailed Steps:
- Preparation Phase:
- Gather all equipment and ingredients
- Put on safety gear
- Set up your workspace
- Line your molds
- Measure all ingredients precisely
- Lye Solution:
- In a well-ventilated area, slowly add lye to cold water
- Stir gently until dissolved
- Set aside to cool to 100-110°F
- Monitor temperature with thermometer
- Oil Preparation:
- Weigh all oils accurately
- Combine oils in stainless steel pot
- Heat gently to 100-110°F
- Allow to cool if needed
- Mixing Process:
- When both lye solution and oils reach 100-110°F
- Slowly pour lye solution into oils
- Begin blending with immersion blender
- Pulse in 30-second bursts
- Look for “trace” – pudding-like consistency
- Adding Extras:
- At light trace, add essential oils
- Add colorants if desired
- Mix in any additives (herbs, clays)
- Blend until well incorporated
- Molding:
- Pour into prepared molds
- Tap mold to release air bubbles
- Scrape sides clean
- Texture top if desired
- Curing Process:
- Cover mold with cardboard
- Insulate with towels if needed
- Leave for 24-48 hours
- Remove from mold and cut
- Cure for 4-6 weeks minimum
Hot Process Soap Overview
Hot process soap making “cooks” the soap, speeding up saponification.
Equipment Needed (Additional):
- Slow cooker (dedicated to soap making)
- Wooden spoons
- Heat-resistant spatulas
- Extra protective gear
- Potato masher (optional)
Basic Hot Process Recipe: Use the same recipe as cold process, but the method differs:
- Initial Steps:
- Mix lye solution as in cold process
- Melt oils in slow cooker on low
- Add lye solution to oils
- Stick blend to light trace
- Cooking Phase:
- Cook on low for 45-60 minutes
- Soap will go through several phases:
- Applesauce stage
- Custard stage
- Vaseline stage
- Stir occasionally
- Check for doneness with pH strips
- Adding Extras:
- Turn off heat
- Add essential oils
- Mix in colorants
- Incorporate additives
- Work quickly as soap thickens
- Molding Hot Process:
- Spoon into molds (soap is thick)
- Pack down firmly
- Smooth top with spatula
- Allow to cool completely
- Finishing:
- Remove from molds after 24 hours
- Cut if needed
- Can use immediately
- Bars improve with 1-2 weeks curing
Top 10 Soap Recipes for Every Skill Level
Here are ten tried-and-tested recipes, starting with the easiest and progressing to more advanced formulations:
1. Basic Melt-and-Pour Soap (Perfect for Beginners)
Ingredients:
- 1 pound melt-and-pour soap base
- 15-20 drops essential oils
- Natural colorant (optional)
Special Instructions:
- Cut base into 1-inch cubes
- Microwave in 30-second bursts
- Add fragrance at 120°F
- Pour into molds
- Ready in 4 hours
2. Simple Cold Process Soap (Classic Method)
Ingredients:
- 16 oz coconut oil
- 14 oz olive oil
- 2 oz castor oil
- 4.7 oz lye
- 11 oz distilled water
- Essential oils (optional)
Special Instructions:
- Mix lye with water
- Heat oils to 100-110°F
- Blend until trace
- Cure 4-6 weeks
3. Goat’s Milk Soap (Luxuriously Creamy)
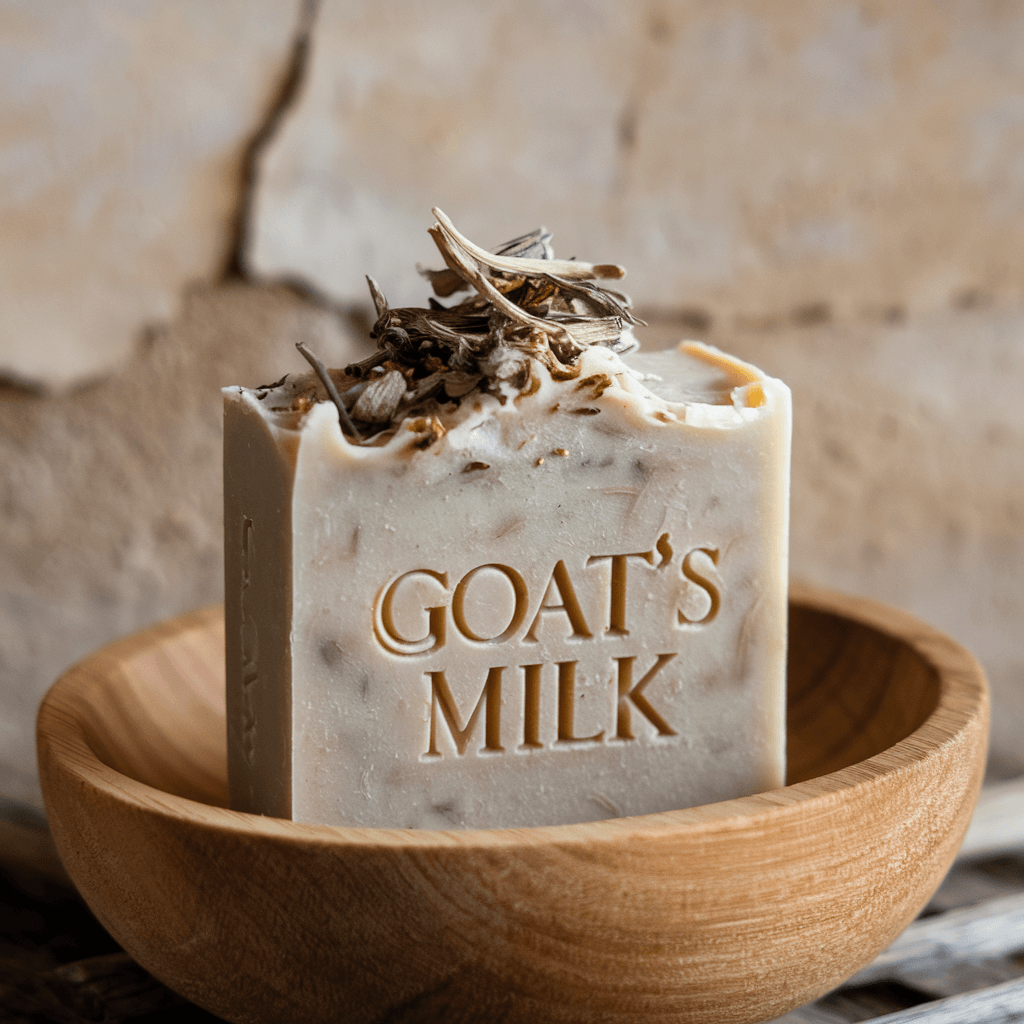
Ingredients:
- 16 oz frozen goat’s milk
- 6 oz lye
- 20 oz coconut oil
- 20 oz olive oil
- 8 oz shea butter
- Essential oils (optional)
Special Instructions:
- Freeze milk in ice cube trays
- Add lye very slowly to frozen milk
- Keep temperature below 90°F
- Cure 6 weeks minimum
4. Hot Process Soap (Quick-Cure Method)
Ingredients: Same as cold process, plus:
- Additional liquid for after cook
- Essential oils (more than cold process)
Special Instructions:
- Cook in slow cooker
- Monitor phases
- Add extras after cook
- Ready in 24 hours
5. Herbal-Infused Soap (Garden Fresh)
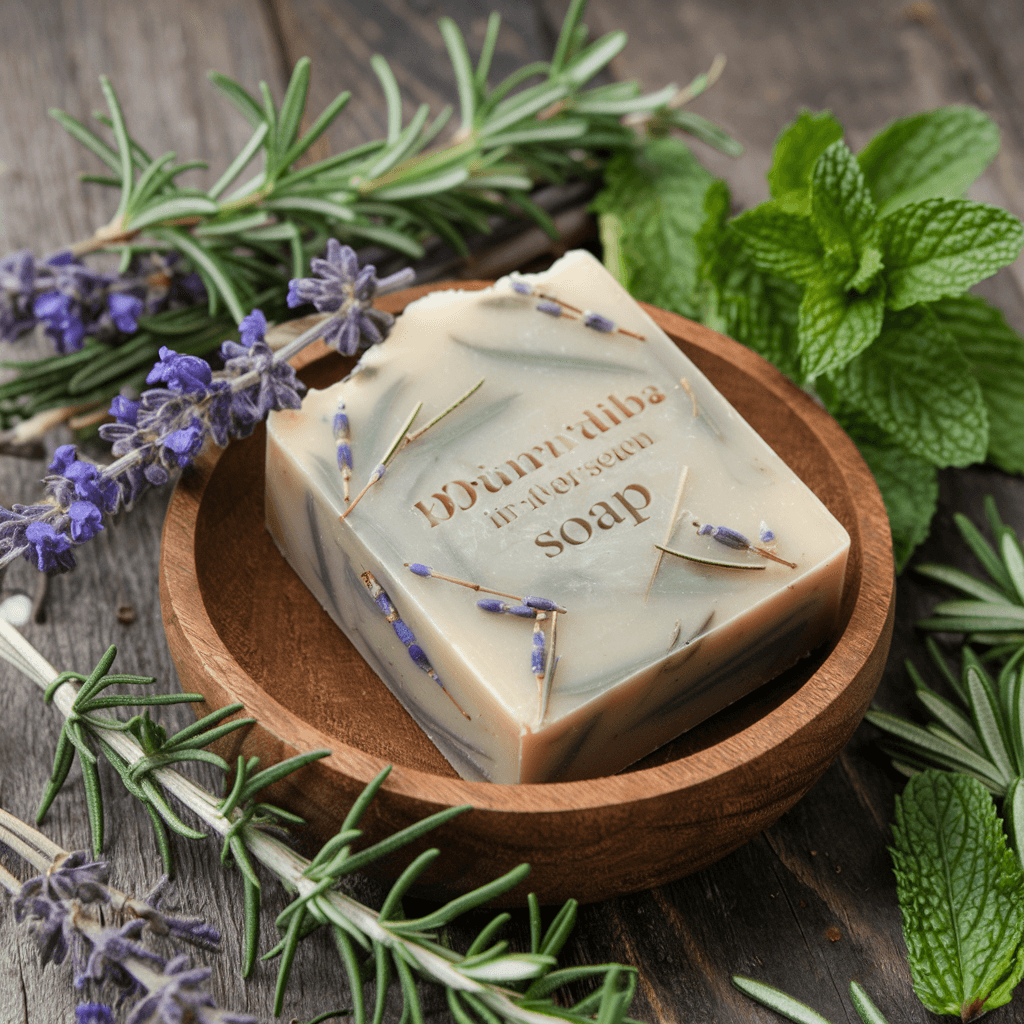
Ingredients:
- Basic cold process recipe
- Dried herbs of choice
- Herb-infused oils
- Natural colorants (optional)
Special Instructions:
- Infuse oils 4-6 weeks before making soap
- Strain herbs completely
- Add dried herbs at trace
- Use light trace for swirls
6. Coffee Kitchen Soap (Deodorizing)
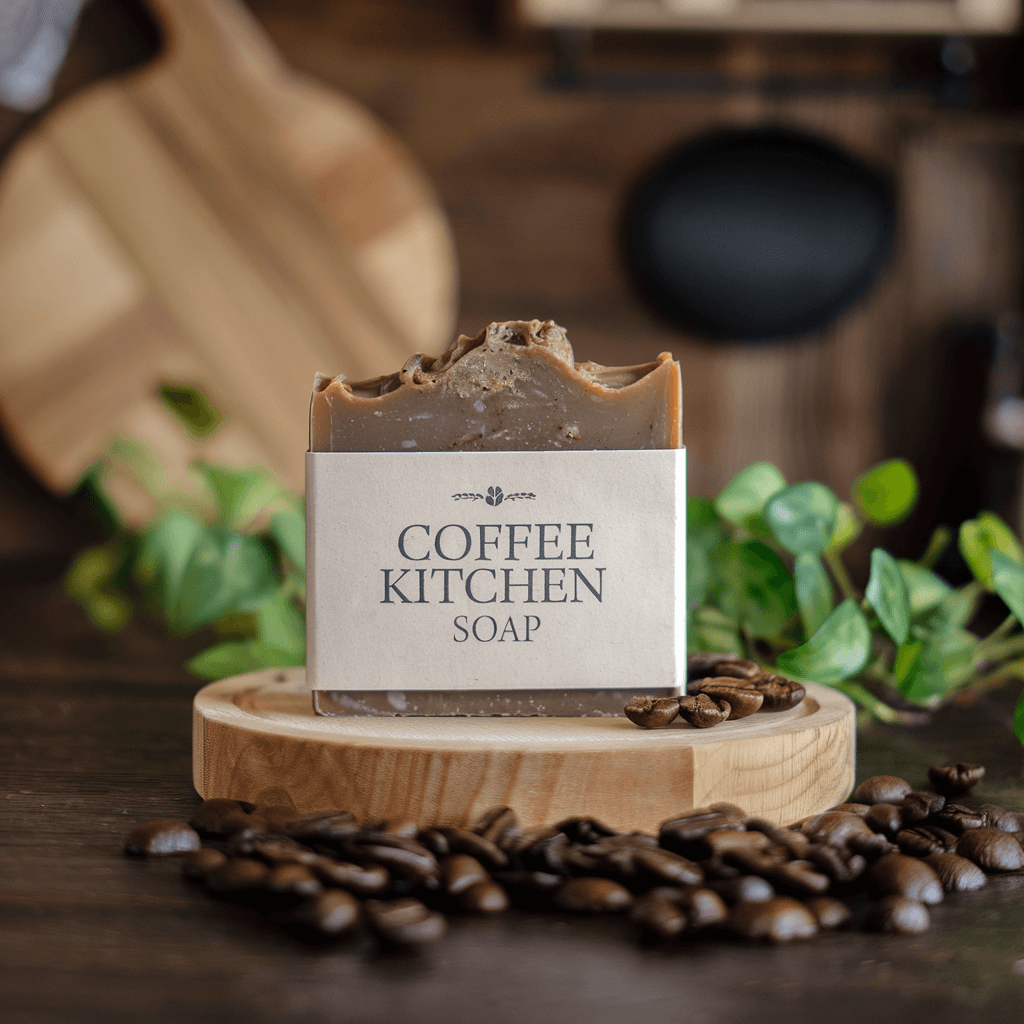
Ingredients:
- Cold brewed coffee (instead of water)
- Basic cold process recipe
- Used coffee grounds
- Coffee essential oil (optional)
Special Instructions:
- Use room temperature coffee
- Add grounds at trace
- Great for removing cooking odors
- Makes harder bars
7. Oatmeal and Honey Soap (Gentle Exfoliation)
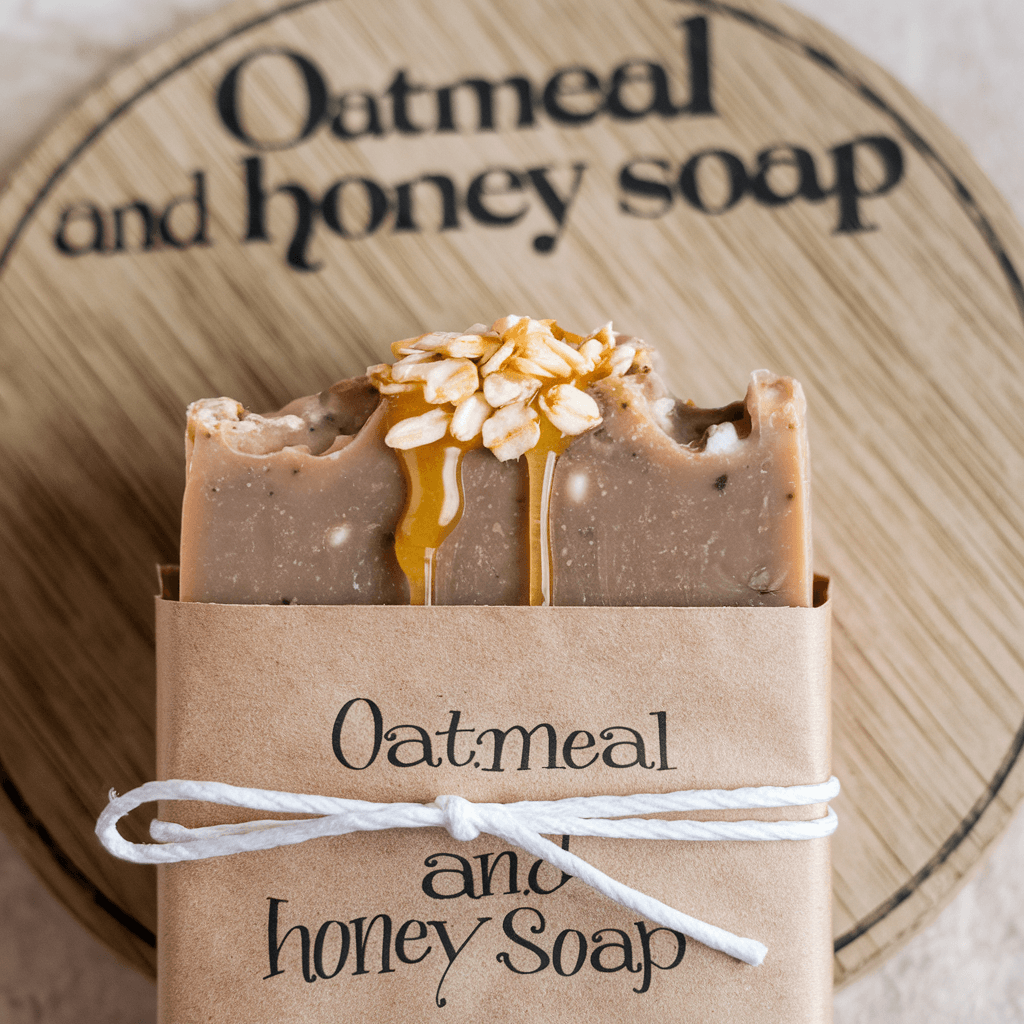
Ingredients:
- Basic cold process recipe
- 1/4 cup ground oatmeal
- 2 tablespoons honey
- Oatmeal milk (optional)
Special Instructions:
- Add honey at light trace
- Add oatmeal at medium trace
- Watch temperature (honey heats up)
- Cure 4-6 weeks
8. Pure Castile Soap (All-Natural Classic)
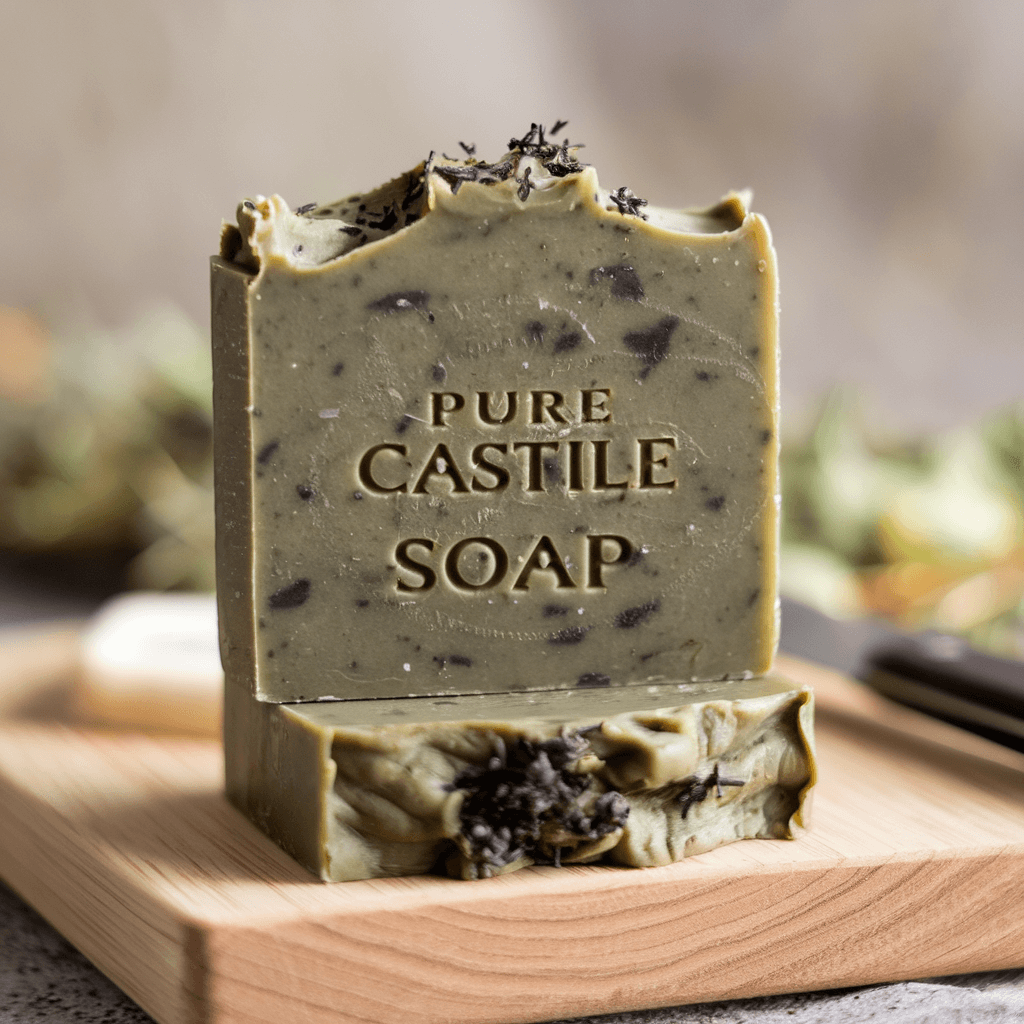
Ingredients:
- 32 oz olive oil
- 4.1 oz lye
- 9.1 oz water
Special Instructions:
- Takes longer to trace
- Very gentle bars
- Long cure (6-8 weeks minimum)
- Gets better with age
9. Shea Butter Facial Soap (Ultra-Moisturizing)
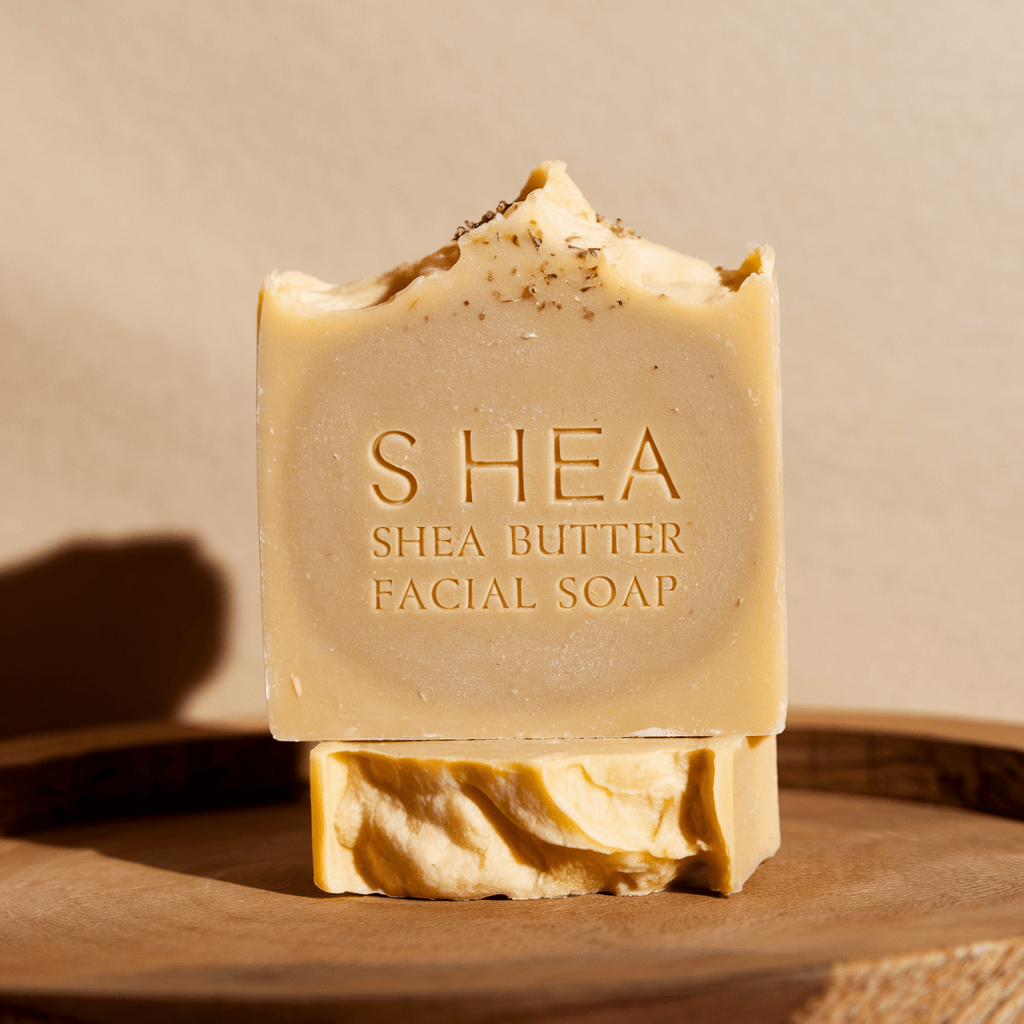
Ingredients:
- 16 oz olive oil
- 8 oz coconut oil
- 8 oz shea butter
- 4.4 oz lye
- 10.5 oz water
- Clay (optional)
Special Instructions:
- Melt shea butter gently
- Add clay at trace if desired
- Great for dry skin
- Cure 4-6 weeks
10. Baby-Safe Soap (Extra Gentle)
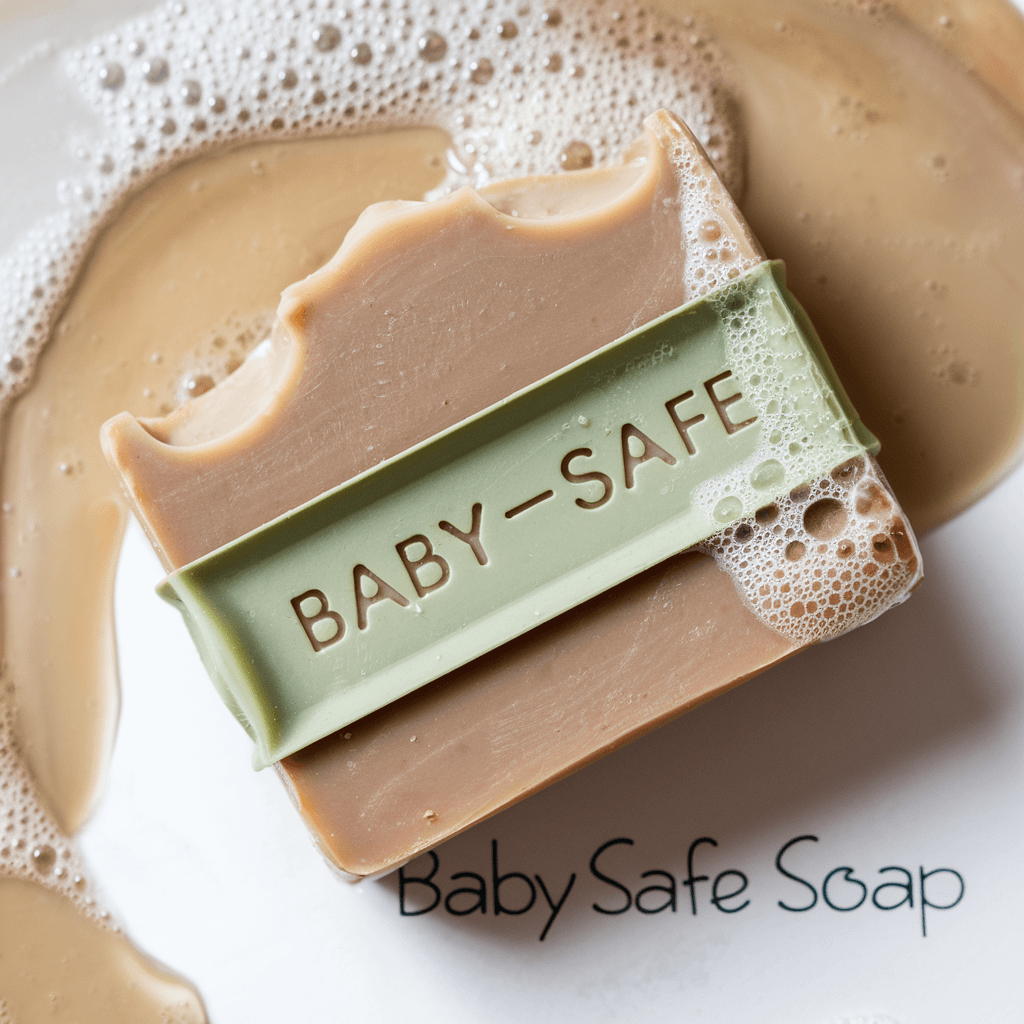
Ingredients:
- 20 oz olive oil
- 8 oz coconut oil
- 4 oz castor oil
- 4.2 oz lye
- 10 oz chamomile tea
- No essential oils
Special Instructions:
- Use room temperature ingredients
- Mix to light trace only
- Cure full 6 weeks
- Perfect for sensitive skin
Troubleshooting and FAQs
Common Problems and Solutions
- Soap Not Hardening:
- Cause: Too much water or soft oils
- Solution: Adjust recipe, use less water
- Prevention: Follow proven recipes
- Fix: Let cure longer
- White Powder on Soap:
- Cause: Soda ash formation
- Solution: Spray with alcohol after pouring
- Prevention: Control temperature
- Cosmetic only, soap is safe
- Soap Separating:
- Cause: Temperature or mixing issues
- Solution: Rebatch if caught early
- Prevention: Monitor temperatures
- Watch mixing thoroughly
- Cracking in Mold:
- Cause: Too much heat
- Solution: Uncover and cool
- Prevention: Less insulation
- Avoid gel phase if needed
Frequently Asked Questions
Q: What ingredients are needed to make soap at home? A: The basic ingredients are:
- Oils (like olive, coconut, palm)
- Lye (sodium hydroxide)
- Liquid (water, milk, tea)
- Optional additives (fragrance, color)
Q: Can I make soap without lye? A: The only way to make soap without handling lye directly is to use a melt-and-pour base. All true soap requires lye in the manufacturing process – it’s a chemical necessity for saponification.
Q: Is homemade soap better for your skin? A: Often yes, because:
- You control ingredients
- Natural glycerin remains
- No harsh preservatives
- Customizable for skin type
- Higher oil content
Advanced Soap Making Techniques
Custom Soap Designs
- Layered Soaps:
- Wait for light trace
- Pour in layers
- Use different colors
- Create ombre effects
- Make taiwan swirls
- Embedded Designs:
- Create soap embeds
- Make soap curls
- Use cookie cutters
- Layer elements
- Create landscapes
- Color Techniques:
- In-the-pot swirls
- Drop swirls
- Hanger swirls
- Pencil lines
- Mica painting
Working with Natural Colorants
- Plant-Based Colors:
- Spirulina (green)
- Madder root (pink)
- Indigo (blue)
- Alkanet (purple)
- Turmeric (yellow)
- Mineral Colors:
- Clay varieties
- Activated charcoal
- Mica powders
- Oxide pigments
- Natural ochres
Resources and Further Learning
Local Learning Opportunities
- Craft fairs
- Farmer’s markets
- Community classes
- Guild memberships
- Mentorship programs
Online Resources
- Soap making forums
- Video tutorials
- Recipe databases
- Safety courses
- Supplier directories
Essential Tools and Supplies
- Beginner kits
- Mold options
- Equipment suppliers
- Ingredient sources
- Safety gear providers
Summary and Checklist
Quick Reference Safety Checklist
- Workspace Setup:
- Ventilation ready
- Surfaces covered
- Safety gear on
- Supplies measured
- Tools clean
- First aid kit nearby
- Process Checklist:
- Recipes calculated
- Temperatures monitored
- Times recorded
- Notes taken
- Clean-up planned
Key Steps Recap
- Preparation:
- Gather materials
- Don safety gear
- Measure ingredients
- Prepare workspace
- Process:
- Mix lye solution
- Prepare oils
- Combine carefully
- Watch for trace
- Add extras
- Pour in molds
- Finishing:
- Monitor curing
- Test pH levels
- Package properly
- Label accurately
Remember, every expert soap maker started as a beginner. Take your time, follow safety protocols, and enjoy the creative process of making your own natural soaps at home. With practice, you’ll be creating beautiful, skin-nourishing soaps that rival any commercial product.
Happy soap making! 🧼✨

