Growing microgreens indoors is simple and rewarding. These tiny vegetable greens are packed with nutrients and flavors.
Follow these easy steps to get started.
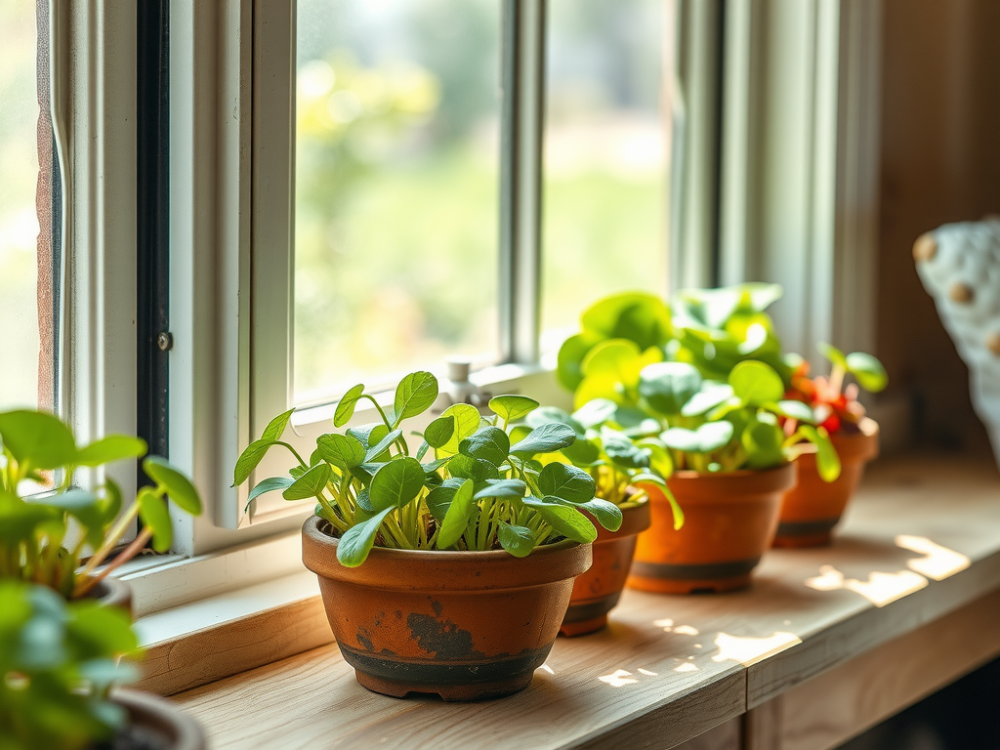
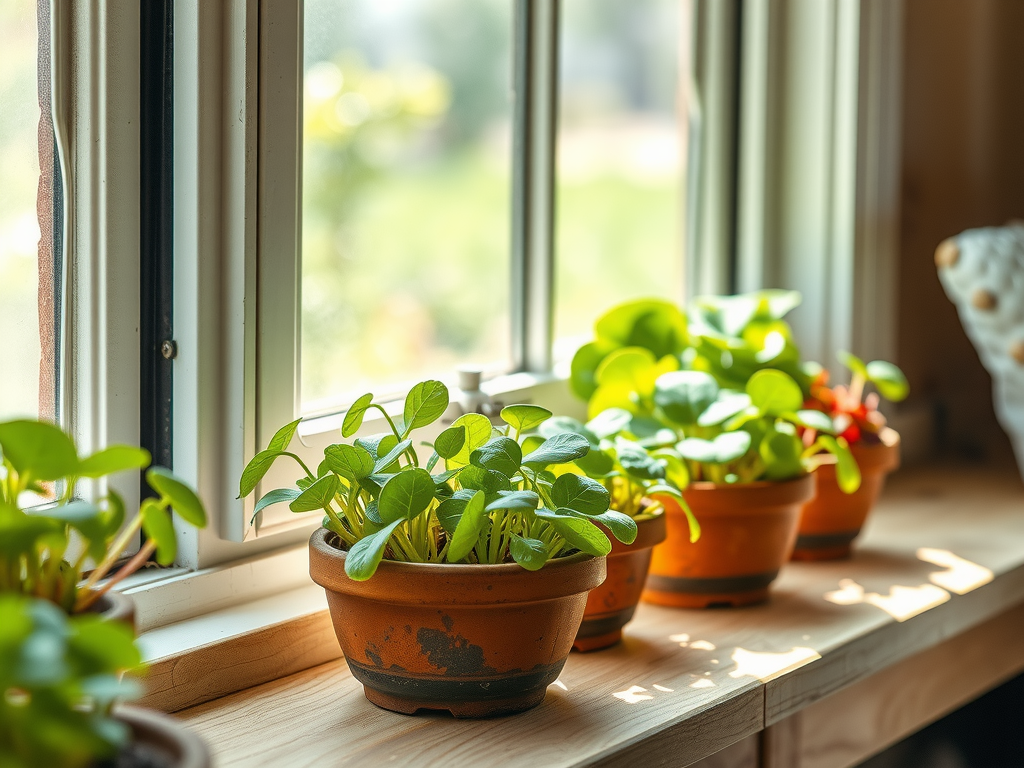
Choose a sunny windowsill or use grow lights for the best results.
Prepare your growing area with a shallow tray that has drainage.
Fill the tray with organic potting soil or coco coir mats. Sow microgreen seeds evenly across the surface and mist them lightly with water.
Keep the soil moist, but not soggy. In just 7 to 21 days, you can enjoy your flavorful harvest.
Click here to learn more about: best microgreens to grow for beginners
Choosing The Right Microgreens Seeds
Selecting the right seeds is important for success.
Popular microgreen varieties include broccoli and radish.
Broccoli has a peppery flavor, while radish adds a spicy kick.
Each type has its germination time; broccoli takes about 7-14 days and radish grows in 7-10 days.
- Broccoli: 7-14 days, rich in nutrients.
- Radish: 7-10 days, adds heat to dishes.
- Arugula: fast-growing, peppery taste.
- Pea shoots: sweet flavor and tender texture.
For quality results, use organic microgreen seeds from trusted retailers. Proper seed selection affects the flavor profile and nutrient density in your indoor gardening.
Tip: Rotate crops every 1-2 weeks for continuous harvests.
Microgreens are easy to grow and can enhance any dish. They need minimal space and are perfect for indoor agriculture. Start your kitchen garden today!
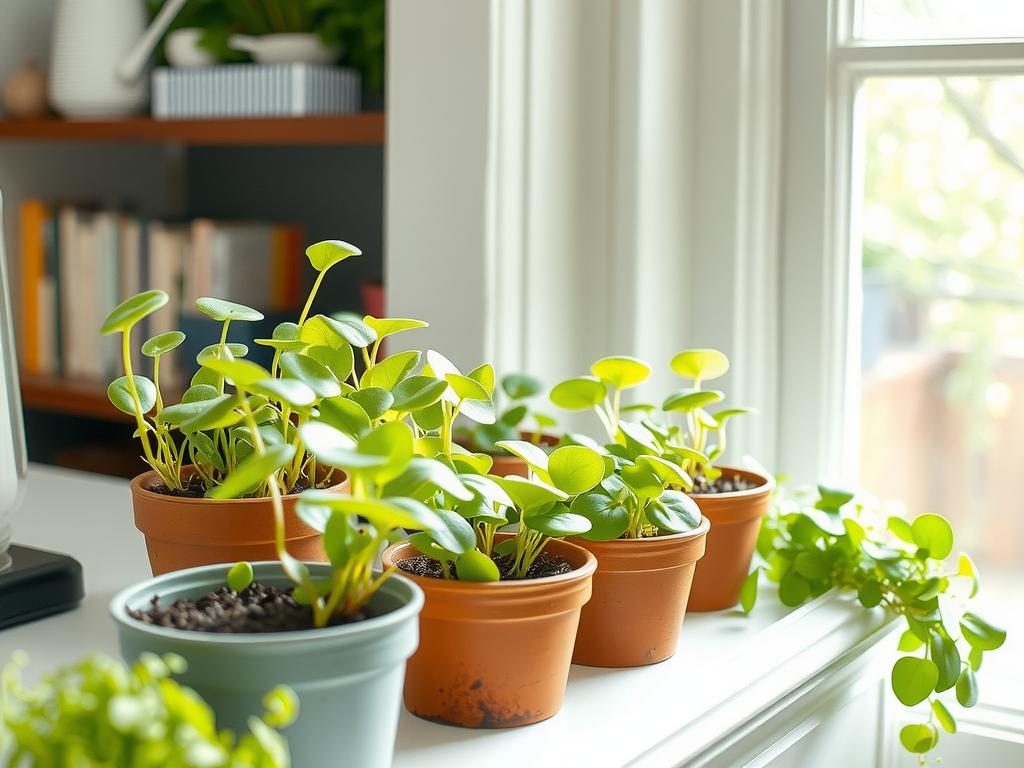
How To Set Up Indoor Gardening
Creating an indoor garden starts with careful planning. First, evaluate the available space and light conditions.
You need natural sunlight or grow lights for plant growth.
Next, select appropriate containers and growing mediums.
Use shallow trays with drainage for optimal microgreen growth. Organic potting soil or coco coir mats are effective choices.
Finally, incorporate a layout that maximizes your plants’ exposure to light. Arrange trays to ensure proper airflow and prevent mold growth.
Essential Steps for Indoor Gardening
- Choose a suitable location with enough light.
- Pick containers that provide drainage.
- Use nutrient-rich soil for microgreens.
- Organize your space for easy access.
Seed Germination For Microgreens
Effective microgreen growth relies on proper seed germination. Explore the ideal moisture levels needed for your seeds. Keep the soil consistently moist, but avoid sogginess. Use a spray bottle for misting seeds lightly. Discuss temperature ranges that support quick sprouting; ideal conditions range from 70°F to 75°F. Warmer temperatures speed up the germination process. Highlight common germination issues such as failure to sprout or mold growth. Monitor moisture levels and enhance airflow for healthy seed development.
Best Practices for Germination
- Keep soil moist but not waterlogged.
- Mist daily to maintain moisture levels.
- Provide good airflow to prevent mold.
- Use a cover until seeds sprout.
Common Microgreen Seeds
Popular microgreen seeds include broccoli, radish, arugula, and pea shoots. These varieties offer rich flavors and nutritional benefits, making them a great addition to any indoor gardening setup.
Indoor Gardening
- Indoor plants can improve air quality by filtering toxins and releasing oxygen.
- Microgreens can contain up to 40 times more nutrients than their mature counterparts.
- Proper lighting is crucial; plants typically require 12-16 hours of light per day for optimal growth.
- Maintaining a consistent temperature and humidity level can significantly enhance germination rates.
Best Organic Potting Soil For Growth
Choosing the right organic potting soil is essential for healthy microgreens. Quality soil contains key nutrients like nitrogen, phosphorus, and potassium.
Brand A is known for its nutrient-rich blend, enhanced with compost, providing excellent nutrition.
Meanwhile, Brand B incorporates coconut coir for superior water retention, which is important for maintaining optimal soil moisture.
To boost soil quality, you can add organic amendments. Consider using worm castings to provide natural nutrients.
Regularly adding compost also enhances soil structure, promoting robust root growth. Here are some features to look for:
- Nutrient density for healthy plant growth.
- Good drainage to prevent waterlogging.
- Moisture retention properties to keep plants hydrated.
Ideal Conditions For Light And Temperature
Optimal light conditions are important for growing microgreens successfully. The light spectrum provided by full-spectrum grow lights is recommended for photosynthesis. Microgreens generally thrive with 12-16 hours of light daily. Temperature control is also important for their growth. These plants prefer a range of 60-75°F (15-24°C).
Ensuring consistent temperatures prevents stress during their growth phase. Heat mats can maintain warmth in winter, while summer requires good airflow to avoid overheating. To adjust for seasonal changes:
- Monitor light exposure and adjust grow lights as needed.
- Use fans for airflow during hot months.
- Place trays in warm spots during cold months.
Adjusting these conditions supports strong growth and enhances crop yields. Harvest timing is key; aim to pick greens when they reach 2-3 inches tall for the best flavor and nutrition.
Organic Potting Soil and Microgreens
- Microgreens can contain up to 40 times more nutrients than their mature counterparts, making quality soil essential for maximizing nutritional content.
- Studies show that plants grown in nutrient-dense soils exhibit faster growth rates and higher yields.
- Proper moisture retention in potting soil can reduce the frequency of watering by up to 50%, promoting healthier root systems.
- Full-spectrum light has been proven to enhance photosynthesis, leading to more vigorous growth in microgreens.
Effective Watering Schedule For Microgreens
Microgreens need careful attention to their watering schedule. Consistent moisture levels are key for healthy growth.
Too much water can lead to yellow leaves and root rot.
On the other hand, underwatering causes browning and wilting.
To check soil moisture, feel the soil to see if it feels damp. Water lightly once each day, adjusting based on the type of microgreen.
For example, broccoli prefers moderate watering, while radish needs constant moisture. A simple spray bottle can assist with gentle misting, keeping soil moist without soaking the greens.
Here’s a quick watering guide based on microgreen types:
Broccoli: Moderate watering
Radish: Constant moisture
Arugula: Light, frequent watering
Pea Shoots: Regular misting
Harvest Timing For Optimal Nutritional Benefits
Timing affects the flavor and nutritional benefits of microgreens.
Generally, they are ready for harvest between 7 to 21 days after sowing.
Microgreens are best harvested when their true leaves reach about 2-3 inches tall.
Early harvesting enhances flavor while increasing their nutrient density. If you wait too long, the greens may toughen, losing their nutrient profile.
To keep microgreens fresh, cut them with scissors at the soil line. Store them in a sealed container in the fridge for freshness, lasting up to one week.
Follow these tips for successful harvesting:
Harvest when:
– True leaves are 2-3 inches long
– Leaves appear vibrant and healthy
– Time since planting is 7 to 21 days
By following this watering schedule and proper harvest timing, you can maximize your microgreens’ flavor and nutritional benefits.
Watering and Harvesting Microgreens
- Consistent moisture is crucial for preventing root rot and promoting healthy growth.
- Microgreens typically have a short growth cycle, making timely harvesting essential for optimal flavor and nutrients.
- Harvesting at the right time can enhance the nutrient density of microgreens significantly.
- Proper storage in a sealed container can extend the freshness of harvested microgreens for up to one week.
Tips For Continuous Harvesting Microgreens
Successful continuous harvesting of microgreens starts with careful planning. Microgreens are tiny vegetable greens harvested between 7 to 21 days after germination.
To ensure a steady supply, utilize succession planting.
Sow fresh seeds every week.
This approach guarantees that you have microgreens at different growth stages, which will enhance your meals.
Effective Space Management
For optimal space management, crop rotation is essential. Label your trays and rotate them consistently.
Always harvest the older trays first. This practice maximizes your growing area and keeps your garden organized.
Proper Storage Techniques
It is important to store harvested microgreens properly.
Use airtight containers in the fridge to maintain freshness.
Avoid excess moisture to extend their shelf life.
Following these tips will allow you to enjoy fresh microgreens year-round.
Microgreens are packed with concentrated nutrients and flavors, making them a popular choice for home gardening.
Consider these additional guidelines for growing microgreens indoors:
- Choose seeds like broccoli, radish, kale, or cilantro.
- Prepare a shallow tray with good drainage, using organic potting soil or grow mats.
- Evenly sow seeds and mist lightly with water.
- Cover the tray and place it in indirect sunlight or beneath a grow light for effective growth.
- Mist daily and uncover after sprouting to ensure ample light.
- Harvest when microgreens reach 2-3 inches tall by cutting at the soil line.
By applying these methods, you can cultivate a successful indoor garden. Enjoy the nutritional benefits and flavor enhancement that fresh microgreens bring to your meals.
Microgreens
- Microgreens can contain up to 40 times more nutrients than their mature counterparts.
- Succession planting allows for a continuous harvest, ensuring a fresh supply every week.
- Proper storage can extend the shelf life of microgreens up to two weeks.
- Indoor microgreens can thrive in limited space, making them ideal for urban gardening.

