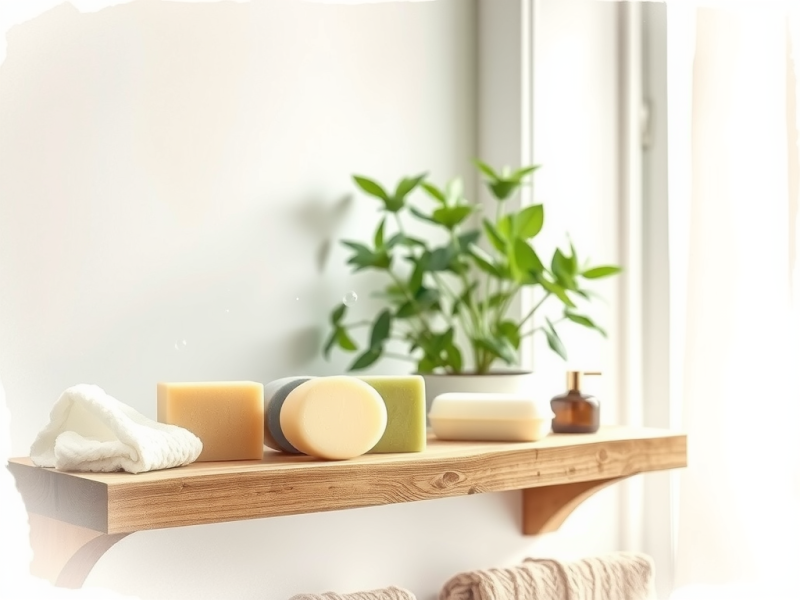

Crafting homemade soap improves skin vitality. Artisan soaps, made from natural ingredients, nourish and moisturize the skin, helping it to glow.
These soaps blend creativity with care, using essential oils and emollients to suit various skin types.
Using homemade soap avoids harsh chemicals found in commercial products.
This eco-friendly choice enhances your skincare routine while benefiting the environment.
Homemade soap leads seamlessly to the importance of Choosing Natural Ingredients For Soap.
Click here to learn more about: how to make homemade soap at home
Choosing Natural Ingredients For Soap
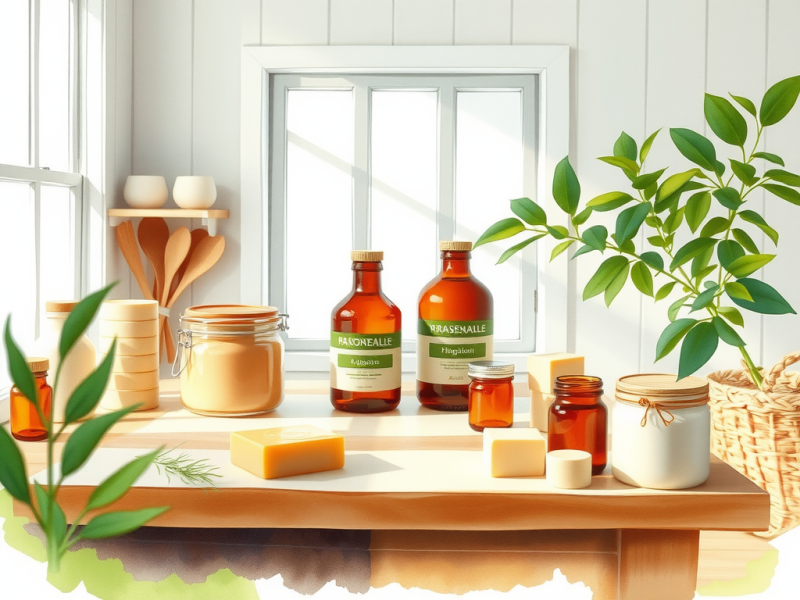
Picking the right ingredients matters for effective soap. Coconut oil has moisturizing effects and antimicrobial properties.
Olive oil is rich in vitamins that enhance skin health. Shea butter soothes and moisturizes, improving elasticity.
Sourcing quality ingredients involves choosing organic and sustainable options.
Blending oils properly creates the best texture for your soap.
This approach allows for customization based on individual skin needs.
Popular Natural Oils and Their Benefits
- Coconut oil: Moisturizes and reduces bacteria.
- Olive oil: Rich in antioxidants and vitamins.
- Shea butter: Soothes and hydrates dry skin.
- Palm oil: Adds rich lather and texture.
Sourcing Quality Ingredients
Sourcing high-quality, plant-based ingredients is essential for successful soap-making. Use local suppliers or trusted online shops to find organic ingredients. Always verify the purity and sustainability of your oils.
Blending Oils for Optimal Properties
When blending oils, consider the following tips:
- Combine hard oils like palm with soft oils like coconut for balance.
- Experiment with ratios to find what works for your skin type.
- Add essential oils for fragrance and skin benefits.
Next, we will explore practical steps to make your homemade soap.

Saponification Process Overview
Saponification is a chemical reaction that transforms oils into soap. This reaction takes place when fats react with lye, mainly sodium hydroxide.
When oils and lye combine, they produce soap and glycerin.
Glycerin is beneficial as it adds moisturizing qualities.
The choice of oils affects the hardness and lather of the final soap. For instance, olive oil creates a softer soap, while coconut oil results in a rich lather.
A simple saponification recipe includes the following:
- 16 oz of olive oil
- 5 oz of coconut oil
- 6 oz of lye
- 12 oz of water
Essential Oils for Homemade Soap
Choosing essential oils for your homemade soap can enhance its fragrance and offer therapeutic benefits. Popular oils and their properties include:
- Lavender: Calming and soothing.
- Tea Tree: Antibacterial and antiseptic.
Safe Usage Rates
When using essential oils, it is essential to follow safe usage rates. Generally, 1-2% of the total soap weight is recommended. Higher concentrations can cause skin irritation.
Blending Scents
Blending different essential oils can create unique fragrances. A few tips for blending include:
- Combine citrus and floral scents for a refreshing aroma.
- Experiment with different ratios to find your ideal scent.
Integrating essential oils into your soap can lead to a delightful aromatic experience in your handcrafted soaps.
Saponification and Essential Oils
- Saponification has been used for centuries to create soap from natural fats and oils.
- Glycerin, a byproduct of saponification, is known for its moisturizing properties, making soap gentler on the skin.
- Essential oils not only enhance the scent of soap but can also provide various therapeutic benefits, such as relaxation or antibacterial properties.
- Using safe rates of essential oils is crucial to avoid skin irritation and ensure a pleasant experience when using homemade soaps.
Safety Precautions When Handling Lye
Taking lye handling safety seriously is important for a safe soap-making experience. Lye, also known as sodium hydroxide, can cause burns if mishandled.
Always wear protective gear, including goggles, gloves, and an apron, to prevent contact with skin and eyes.
This gear is essential for lye handling safety.
Ensure your workspace is well-ventilated to avoid harmful fumes. Proper lye storage is vital; keep lye in a labeled, secure container away from children and pets.
For disposal, neutralize lye with vinegar and follow local guidelines for hazardous waste. Use this lye safety checklist before you begin:
- Wear protective gear.
- Work in a well-ventilated area.
- Have vinegar nearby for spills.
- Store lye safely after use.
- Dispose of lye properly.
How To Use Soap Molds Effectively
Effective use of soap molds can improve your soap-making results. Silicone molds are flexible, making it simple to remove your soap once it sets. Plastic molds are durable and come in various shapes, adding unique designs to your soaps. To achieve clean edges, use a spatula to smooth the soap surface before it hardens. Allow your soap to cure for the recommended time in the mold for the best results. When demolding, gently flex silicone molds to release the soap. For rigid molds, tap the sides to loosen. This technique helps maintain the intricacies of your artisanal products.
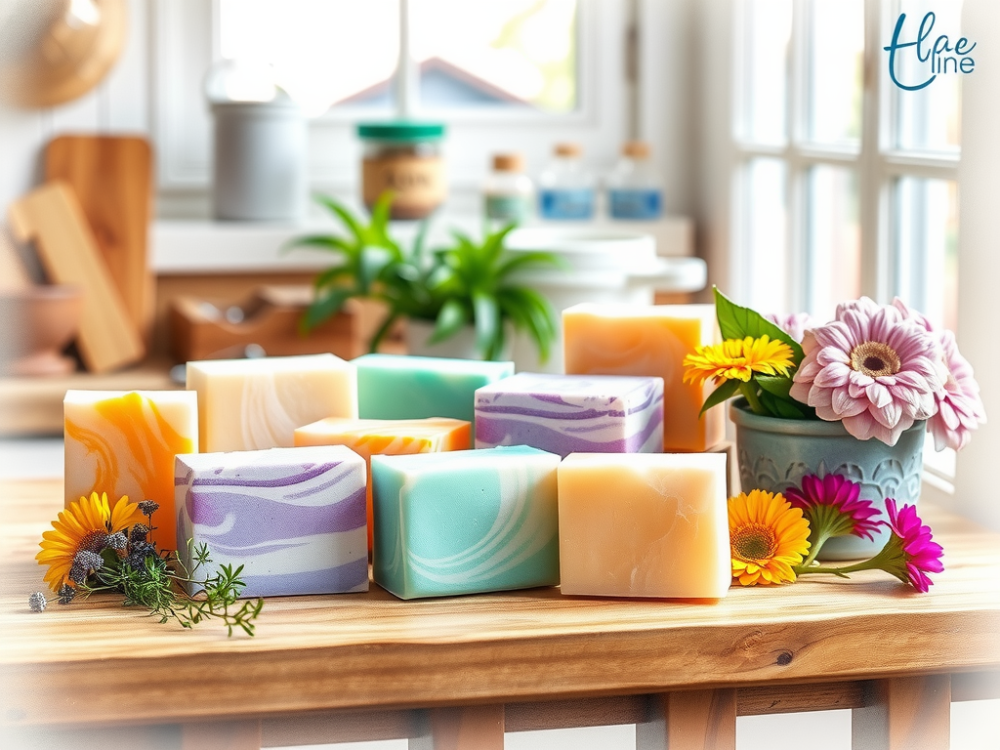
Homemade soap-making blends creativity and chemistry. You can create personalized soaps with natural ingredients and no synthetic additives. Whether using the cold process, hot process, or melt-and-pour methods, you can customize every detail, including fragrance and texture.
Key Benefits of Homemade Soap
- Control over ingredients for custom skin care.
- Cost savings compared to store-bought soaps.
- Byproducts like glycerin enhance skin hydration.
- Eco-friendly and less wasteful than mass production.
Steps to Make Cold-Process Soap
- Choose a recipe and verify ratios with a lye calculator.
- Assemble safety gear: goggles, gloves, apron.
- Prepare a lye solution and allow it to cool.
- Melt and mix oils (e. g. coconut, olive, palm oil).
- Combine oils and lye solution around 100°F.
- Blend until trace is achieved.
- Add optional ingredients like colorants or essential oils.
- Pour into molds and insulate for 24-36 hours.
- Unmold and cure for 4-6 weeks.
SEO Considerations
- Use safety precautions when handling lye (e. g. gloves, goggles, well-ventilated space).
- Homemade soap can be tailored for sensitive skin by omitting irritants.
- Cold-process soap offers smooth texture; hot-process reduces cure time.
- Beginner-friendly melt-and-pour avoids lye handling while allowing customization.
Applying eco-friendly practices when making soap is beneficial. Popular additives include oatmeal, honey, and activated charcoal. Always store cured soap in a dry, well-ventilated space to maintain quality. Handmade soaps make thoughtful, personalized gifts. Seek high-quality, food-grade lye and oils for the best outcomes.
Soap-Making Safety and Benefits
- Using protective gear reduces the risk of chemical burns when handling lye.
- Well-ventilated workspaces minimize exposure to potentially harmful fumes from lye.
- Homemade soaps can be customized to suit individual skin types, promoting better skin health.
- Eco-friendly soap-making practices contribute to sustainability and reduce waste.
Tips For Achieving Rich Lather
To create a rich lather in your soap, focus on key ingredients. Coconut oil produces strong bubbles and a luxurious texture.
Superfatting is important; it adds extra oils that do not react with lye, enhancing lather quality.
Ingredients for Lather
- Coconut oil: Increases bubbles and lather.
- Honey: Improves moisture and softness.
- Sugar: Boosts bubbly texture.
These components improve both the performance and user experience of your soap.
Custom Skin Care With DIY Soaps
Customizing your soaps allows you to address specific skin needs effectively. Oats help soothe and gently exfoliate skin. Aloe vera adds hydration and calms irritation.
Adding Skin-Loving Ingredients
- Oats: Great for sensitive skin.
- Aloe vera: Provides soothing benefits.
Testing new formulations is wise. Always apply a small amount to a patch of skin before full use. This ensures the soap is gentle and effective for your skin type.
Soap Ingredients
- Coconut oil can increase lather by up to 30% compared to other oils.
- Honey has natural humectant properties, attracting moisture to the skin.
- Sugar can enhance lather quality and create a more bubbly texture in soaps.
- Oats are known for their anti-inflammatory properties, making them ideal for sensitive skin care.
Curing Time: Why It Matters
Curing soap properly is essential for achieving hardness and longevity. During the saponification process, moisture evaporates, allowing soaps to harden.
A well-cured soap lasts longer and produces less waste.
Effects of Humidity and Temperature
Humidity levels significantly affect the curing process.
High humidity can slow down drying, which extends curing time.
Similarly, low temperatures can hinder proper curing. Proper curing helps ensure the quality and durability of your homemade soap.
Determining When Soap is Cured
To determine if your soap is ready, check it after four weeks.
Gently press the bar; it should feel firm. You can also observe the appearance.
A dry and matte finish indicates readiness.
Store the soap in a cool, dry area on a wire rack.
This setup maximizes air circulation and promotes a successful curing process.
| Factor | Impact on Curing |
|---|---|
| Humidity | High humidity slows down drying, extending curing time. |
| Temperature | Low temperatures hinder proper curing. |
| Curing Duration | Check firmness after four weeks for readiness. |
| Storage Method | Using a wire rack in a cool, dry area maximizes air circulation. |