
Imagine walking into your garden shed and seeing a row of jars filled with natural fertilizers and biological brews you made yourself.
One started with weeds pulled from your garden. Another used ingredients from your kitchen. Each has a purpose, and you know how to prepare and dilute it when your plants need it.
That’s a pretty satisfying picture, especially if you’re tired of buying another bottle of fertilizer every time something changes in your garden.
And here’s the appealing part: you don’t need a laboratory or an expensive collection of equipment to begin learning how to make your own garden inputs.
Common materials such as weeds, eggshells, brown sugar, vinegar, and kitchen scraps are used in traditional natural farming preparations.
The trick is knowing which ingredients belong in which recipe, how to prepare them, and when to use the finished brew.
1. Start seeing garden ingredients where you used to see waste
Think about what comes out of your garden during an ordinary weekend.
You pull weeds from between the vegetables. You prune overgrown plants. You collect grass clippings and carry unwanted plant material away.
Meanwhile, you may have eggshells and other scraps collecting in the kitchen.
Some of these materials can become ingredients for homemade garden inputs.
For example, natural farming methods include fermented plant preparations, mineral extracts, and biological cultures made with readily available materials.
Different preparations serve different purposes. A plant ferment is not interchangeable with a mineral extract, and neither should be treated as a universal fertilizer.
That’s why a reliable recipe matters.
Instead of combining random scraps in a bucket and hoping for the best, you can choose a preparation suited to the materials you have and the purpose you want it to serve.
The next time you pull weeds, you might find yourself asking a different question:
“Could I use these in a garden brew?”
That simple change in thinking is part of the appeal of making your own inputs.
2. Give every homemade garden brew a purpose
A shelf full of unidentified jars isn’t particularly useful.
A shelf of properly prepared, clearly labeled garden inputs is another story.
Before starting a batch, establish three things:
What are you making? A plant-based ferment, mineral extract, or microbial preparation?
What is it for? Which plant-growth stage or garden situation does the recipe address?
When will it be ready? What fermentation period and visible signs does the recipe specify?
These details help turn an interesting experiment into something you can repeat.
A simple labeling habit also helps. Record the preparation name, ingredients, and date you started it.
Follow the individual recipe’s container and fermentation instructions. Active fermentation may produce gas, so don’t assume every preparation belongs in a tightly sealed jar.
Pay attention to the expected changes in appearance and smell. If a batch develops unexpected contamination or you’re uncertain whether it was prepared correctly, don’t apply it to your garden.
The goal is to build confidence through a process you understand.
And once you’ve successfully prepared your first batch, you have a practical reference for making it again.
3. Know what to apply as your plants grow
Your vegetable garden doesn’t stay the same throughout the season.
A newly established seedling has different needs and tolerances than a mature tomato plant carrying developing fruit.
That makes timing an important part of using homemade fertilizers.
A practical approach is to divide plant development into recognizable stages:
Seedling establishment
Leafy or vegetative growth
Transition toward flowering
Flowering and fruit development
Final growth and harvest
These stages give you a framework for deciding which preparation to consider.
For example, when your tomatoes begin transitioning from leafy growth toward flowering, you can consult a stage-based reference instead of choosing a homemade input at random.
Of course, a plant’s growth stage isn’t the whole story. Soil conditions, crop needs, weather, and the ingredients in a particular preparation still matter.
Homemade inputs work best as part of an informed garden-management routine, not as an automatic replacement for every nutrient your soil may need.
But having a clear reference for what to prepare and when to consider using it can remove much of the uncertainty.
4. Get the dilution right before applying anything
Making a homemade brew is only half the process.
You also need to know how to use it.
Many natural farming preparations are diluted before application. The appropriate concentration depends on the recipe and intended use.
A mixture prepared for a root drench may have different instructions from one intended for a foliar application.
Guessing is especially unwise around young seedlings.
This is where keeping a printed dilution chart in your shed becomes useful.
Imagine filling your watering can, looking at the recipe’s recommended dilution, and having the measurements available without searching through old notes.
For any homemade preparation:
Follow its specified dilution rather than assuming all brews use the same ratio.
Measure the amount of water you’re preparing.
Use the recommended application method.
Observe how your plants respond before making the preparation part of your regular routine.
The more organized your recipes and measurements are, the easier it becomes to repeat preparations consistently.
5. Build your own collection of natural garden inputs
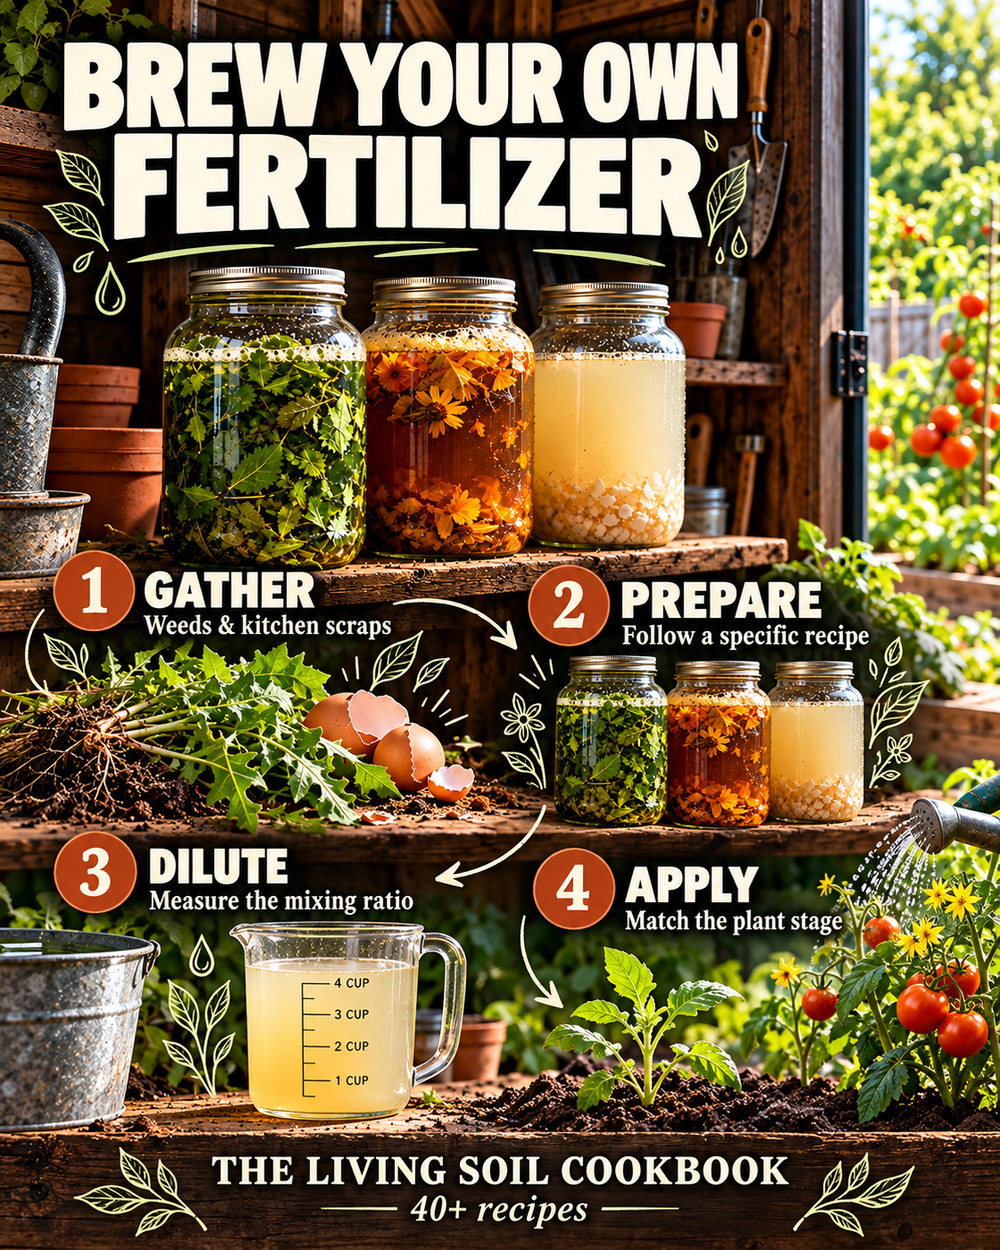
If you’ve been wanting to make more of your own fertilizers but aren’t sure where to begin, The Living Soil Cookbook offers a structured starting point.
It’s a 77-page digital field manual containing more than 40 recipes adapted from natural farming methods.
The recipes cover homemade fertilizers, mineral extracts, and biological inputs using commonly available materials.
Rather than leaving you to figure everything out yourself, the guide includes preparation instructions, fermentation windows, signs to watch for, and dilution information.
You also receive three practical companions:
The 5-Stage Brew Calendar: A printable reference for matching preparations to stages of plant growth.
Shed-Side Dilution Cheat Sheets: Measurement charts you can keep nearby when mixing.
Input Cost & Dilution Calculator: A tool for calculating recipe quantities based on your water volume.
The materials are designed for backyard gardeners, homesteaders, and small-scale growers, including beginners.
You won’t receive physical fertilizer or ready-made brews. You’ll receive digital instructions and references for preparing them yourself.
You’ll still need to gather the ingredients, follow the fermentation instructions, and allow each batch the required time. The results will depend on your soil, plants, growing conditions, and how you use the preparations.
Your first homemade brew could be the beginning of a new garden habit
You don’t need dozens of jars to get started.
Choose one preparation that suits your garden. Gather the ingredients, follow the instructions, and learn what a properly prepared batch should look like.
Once you’re comfortable with that process, you can explore other recipes as your plants move through the growing season.
Over time, you may find that some materials you previously discarded have a useful place in your gardening routine.
And there’s real satisfaction in opening your shed and recognizing something you made yourself.
Ready to start making your own natural garden fertilizers?
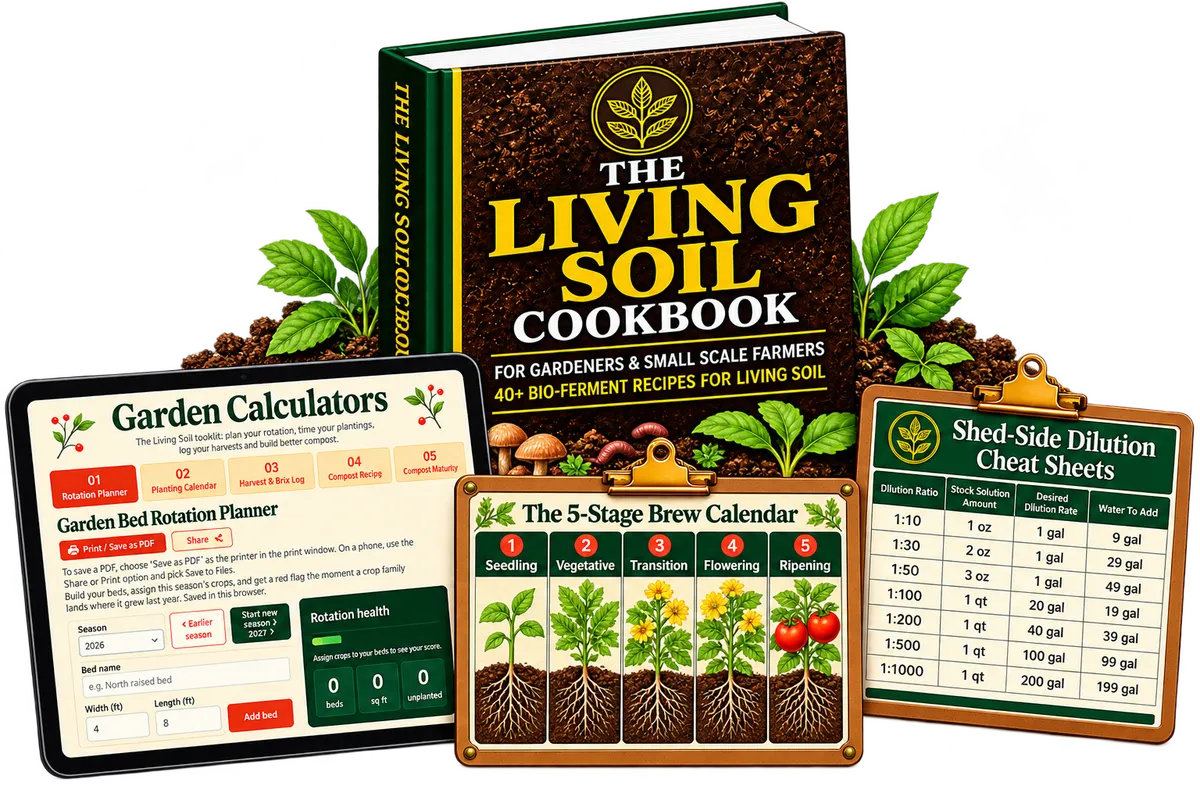
The Living Soil Cookbook is currently offered for $27, including all three digital bonuses and instant access.
It also comes with a 60-Day First Batch Guarantee. After brewing your first batch, if you don’t feel it’s the cleanest, most effective input system you’ve used, you can email within 60 days to request a full refund under the stated guarantee.
Get The Living Soil Cookbook and Start Your First Batch
Your next garden input might begin with ingredients you already have.