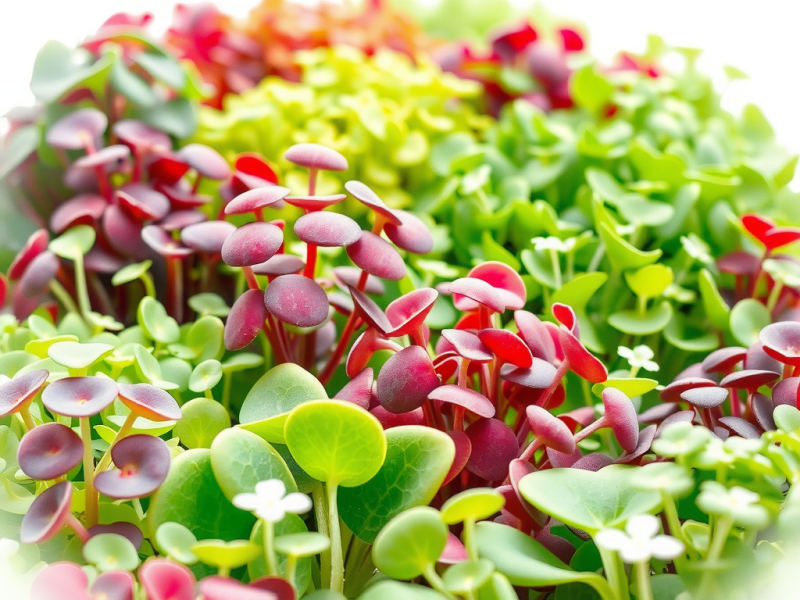

Growing microgreens is simple and rewarding for everyone. These greens thrive indoors or in small gardens and are ready to harvest in just 7-21 days.
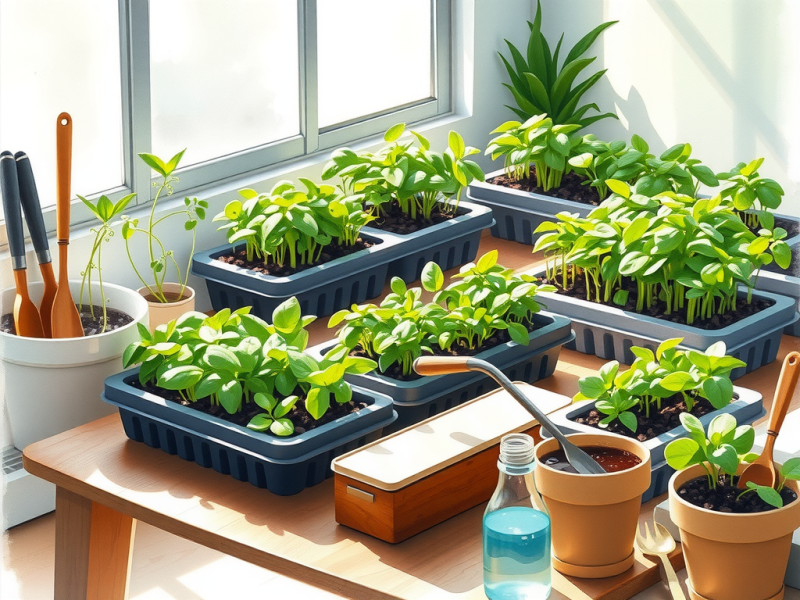
Start with high-quality microgreen seeds and a proper growing medium, such as potting soil or coconut coir.
Use the right watering techniques; bottom watering can help prevent mold.
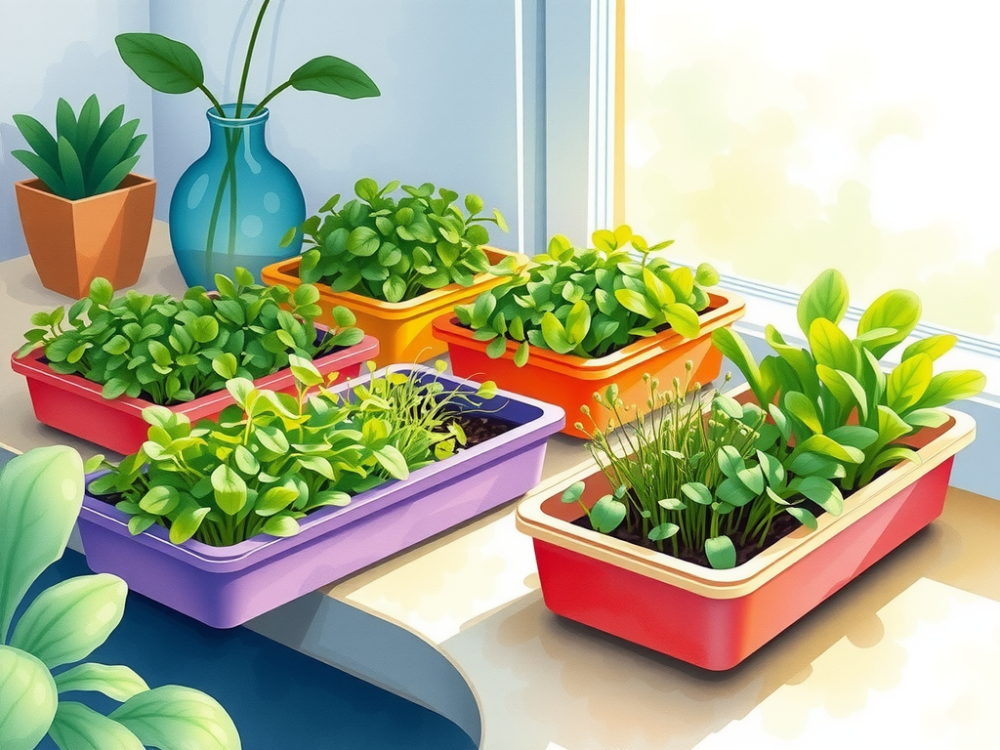
Ensure adequate sunlight exposure, or use grow lights for at least four hours daily. Mist the soil regularly to keep it moist.
With these tips, enjoy harvesting vibrant, nutrient-rich microgreens packed with intense flavor.
Click here to learn more about: best microgreens to grow for beginners
Choosing The Right Microgreen Seeds
Choosing the proper seeds leads to successful growth. Selecting high-quality microgreen seeds ensures healthy plants.
Check for freshness and proper labeling from trusted suppliers.
Consider these points:
- Varieties like pea shoots, sunflower microgreens, and broccoli thrive in different climates.
- Think about their unique flavor profiles and nutritional benefits.
- Ensure the seeds match your previous growing conditions.
Regular quality checks for mold or damage are important for seed selection. Looking for seeds that fit your indoor gardening methods will yield the best results.
Tips for Seed Sourcing
When sourcing seeds, consider:
- Purchase from reliable suppliers.
- Check for organic options for better nutritional density.
- Look for seeds specifically labeled for microgreens.
Quality Checks
Perform regular checks on your seeds:
- Inspect for mold prevention and signs of damage.
- Use only seeds that appear healthy.
Quality seeds are essential for great results in small-scale farming.

Potting Soil Choices for Microgreens
Selecting the right potting soil affects microgreen growth rates. Different soil types significantly influence the speed and health of microgreen seeds.
Well-drained soil prevents root rot and supports vigorous growth.
Drainage and aeration help roots breathe effectively, which statistics show is essential for thriving microgreens.
For cost-efficient options, consider DIY soil mixtures. A simple blend of two parts coconut coir and one part perlite enhances drainage.
This mixture keeps costs low while supporting healthy growth. By optimizing your soil choices, you can improve your microgreen results.
Importance of Drainage and Aeration
Drainage and aeration are key for root health.
Proper airflow and moisture levels support growth and prevent issues.
Use pots with holes for drainage.
Microgreens require constant moisture without waterlogging. Effective soil mixtures improve air circulation and moisture retention.
DIY Soil Mixtures for Cost-Efficiency
Creating your own potting soil can save money.
Here are two simple mixtures:
- Two parts coconut coir, one part perlite for excellent drainage.
- One part peat moss, one part compost for nutrient density.
These DIY mixtures provide a strong foundation for microgreen growth.
Benefits of Coconut Coir for Growing
This growing medium offers many advantages for microgreens. Coconut coir is a sustainable alternative to peat moss, helping reduce environmental impact. One major benefit is its moisture retention, as coir can hold up to ten times its weight in water. This supports consistent moisture levels for optimal growth.
Nutrient Management with Coconut Coir
Coconut coir’s neutral pH aids nutrient availability. To enhance your soil mixture, combine coir with organic fertilizers:
- Mix coir with slow-release nutrients for steady plant growth.
- Use organic options to maintain a nutrient-rich environment.
Using coconut coir leads to healthier plants and a sustainable growing environment.
Microgreens Growing Tips
Growing microgreens is simple and rewarding. Follow these tips:
- Select high-quality seeds labeled for microgreens.
- Use a flat container with good drainage and a sterile growing medium.
- Spread seeds evenly over the soil and lightly cover them.
- Mist regularly to keep the soil moist, avoiding overwatering. Bottom watering prevents mold.
- Place trays in a sunny location or use grow lights for 4+ hours daily.
- Maintain room temperatures between 60-70°F (15-21°C) for optimal growth.
- Harvest just above the soil line when the first true leaves appear, usually after 2-3 weeks.
Challenges to Watch Out For
Pay attention to these challenges when growing microgreens:
- Ensure good ventilation to avoid mold growth.
- Prevent pests like aphids and gnats with clean equipment.
- Handle microgreens gently during harvest for freshness.
Potting Soil for Microgreens
- Well-drained soil is crucial for preventing root rot and ensuring vigorous growth.
- Coconut coir can retain up to ten times its weight in water, promoting consistent moisture levels.
- DIY soil mixtures can be cost-effective while providing essential drainage and nutrient density.
- Maintaining room temperatures between 60-70°F (15-21°C) is optimal for microgreen growth.
How To Use Grow Lights Effectively
Using grow lights properly can enhance microgreen growth. Each type of microgreen has specific light requirements.
For example, sunflower microgreens thrive with 12-16 hours of light daily.
Pea shoots also require 12-16 hours for optimal development.
Position grow lights 6-12 inches above the plants to ensure adequate light exposure. Adjust the height as microgreens grow.
Regularly check light intensity and adjust duration based on growth stages. Your checklist for light adjustments should include:
- Ensure even light distribution.
- Maintain a consistent light schedule.
Tips For Growing Pea Shoots
Starting with high-quality pea shoot seeds leads to better yields. Ideal conditions for sprouting include moderate temperatures of 60-70°F. Using a sterile growing medium supports healthy growth. Proper watering techniques are important; keep the soil moist but not soggy. Bottom watering helps prevent mold. Harvest pea shoots 2-3 weeks post-planting for peak flavor. Look for vibrant green leaves and tender stems. Correct timing enhances the intense flavor of these microgreens.
Seed Selection
Select high-quality microgreen seeds labeled for pea shoots. Quality seeds improve overall crop yield.
Optimal Conditions
Maintain temperatures between 60-70°F for best growth. This range supports effective germination and plant health.
Watering Techniques
Use bottom watering to keep soil moist and avoid mold. Regular misting helps maintain moisture without oversaturating the soil.
Harvesting Timeline
Harvest when the first true leaves appear, typically within 2-3 weeks. This timing ensures the best taste and nutritional density.
Growing Microgreens
- Microgreens can contain up to 40 times more nutrients than their mature counterparts.
- Proper light exposure can increase the growth rate of microgreens significantly.
- Pea shoots are particularly high in vitamins A, C, and K, making them a nutritious addition to meals.
- Using a sterile growing medium can reduce the risk of disease and promote healthier plants.
Harvesting Techniques For Sunflower Microgreens
Harvesting sunflower microgreens involves specific timing and techniques. Microgreens grow best when harvested between 10-14 days after planting.
Use sharp scissors for a clean cut, ideally just above the soil line.
This method promotes regrowth and minimizes damage.
Signs of readiness include the appearance of the first true leaves. Proper timing influences flavor and enhances nutritional density, ensuring these greens are packed with vitamins.
After harvesting, store microgreens in a sealed container in the fridge. Keeping them dry improves freshness and extends shelf life.
Mold Prevention Strategies In Indoor Gardening
Effective strategies can help prevent mold in indoor gardening.
Good air circulation around plants is essential, as mold thrives in damp, low-airflow conditions.
Consider using small fans and spacing seedling trays to enhance ventilation.
Humidity control is important; ideal indoor humidity levels should range from 40-60%. Keeping soil well-draining prevents oversaturation, which can encourage mold growth.
Natural remedies, such as diluted vinegar or baking soda sprays, can effectively tackle mold issues.
Regular moisture checks and proper watering techniques, such as bottom watering, help maintain a healthy growing environment and reduce mold risks.
- Ensure air circulation to prevent mold.
- Use fans and space trays properly.
- Control humidity to stay within 40-60%.
- Keep soil well-draining to avoid excess moisture.
- Apply natural remedies to address minor mold issues.
- Sunflower microgreens are typically ready for harvest when they have developed their first true leaves.
- Harvesting at the right time can enhance the flavor and nutritional density of microgreens.
- Maintaining humidity levels between 40-60% is crucial for preventing mold in indoor gardening.
- Using bottom watering techniques can help maintain optimal soil moisture and reduce mold risks.
Key Nutritional Density Of Microgreens
Microgreens are packed with nutrients, making them a valuable addition to your diet. These tiny greens can offer up to 40 times more vitamins and minerals than their mature counterparts.
Nutritional density is important when selecting which microgreen seeds to grow.
Variety plays a significant role; for instance, broccoli sprouts are rich in sulforaphane, while sunflower microgreens provide healthy fats.
Previous growth conditions affect nutrient content, emphasizing the importance of potting soil and quality seeds.
Incorporating a mix of microgreens into your meals can enhance overall health and nutrient absorption. Simple ideas for usage include:
- Adding these greens to salads
- Using them as garnishes
- Incorporating them into main dishes
This diversity not only adds flavor but also ensures you receive various nutrients essential for well-being.
Microgreens Growing Tips
Microgreens are young, nutrient-rich greens harvested just after the first true leaves appear, typically within 7-21 days of planting. They are known for their intense flavor, vibrant colors, and high nutritional value. Growing microgreens is suitable for small spaces, making them an excellent option for urban gardening, hobbyists, and small-scale farmers.
Step-by-Step Tips
- Select high-quality seeds labeled for microgreens.
- Use a flat container with good drainage and a sterile growing medium like potting soil, coconut coir, or peat moss.
- Spread seeds evenly over the soil surface and lightly cover them with a thin layer of the medium.
- Mist the soil regularly to keep it moist but avoid overwatering. Bottom watering is recommended to prevent mold.
- Place trays in a sunny location or use grow lights to ensure adequate lighting (4+ hours daily).
- Expose germinated seeds to light and maintain room temperatures between 60-70°F (15-21°C).
- Harvest greens with scissors just above the soil line when their first true leaves appear, typically 2-3 weeks after planting.
Challenges to Watch Out For
- Avoid mold by ensuring good ventilation and proper watering techniques.
- Prevent pests like aphids and gnats with clean equipment and monitoring.
- Handle delicate microgreens gently during harvest and storage for extended freshness.
Microgreens
- Microgreens can contain up to 40 times more vitamins and minerals compared to their mature forms.
- Broccoli sprouts are particularly high in sulforaphane, a compound known for its health benefits.
- Growing microgreens can be done in small spaces, making them ideal for urban gardeners.
- Harvesting microgreens typically occurs 2-3 weeks after planting, providing a quick turnaround for fresh greens.
Best Microgreens For Salads That Wow
Best Microgreens For Beginners To Grow