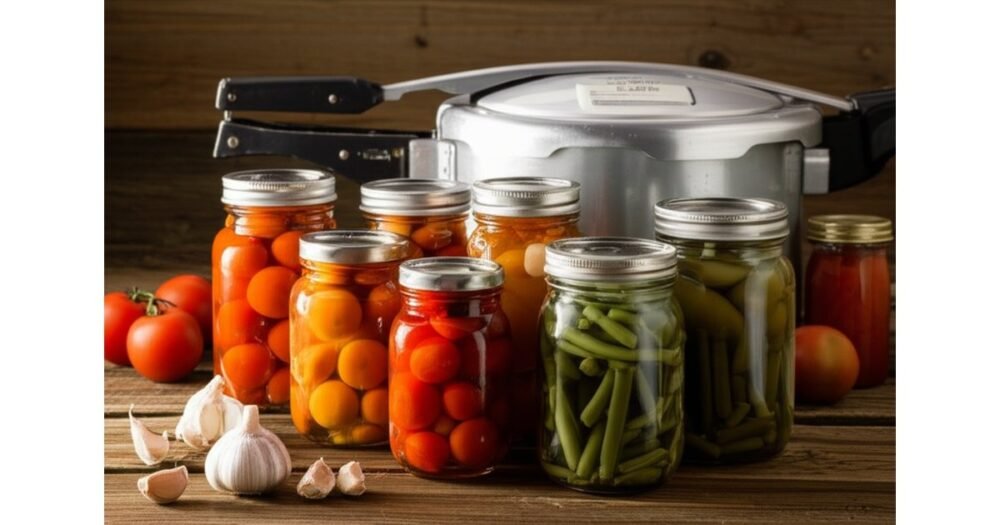
Pressure canning is the only recommended home-canning method for plain vegetables, meat, poultry, seafood, broth, and other low-acid foods. A boiling-water canner cannot reach the temperature needed to control the risk of botulism in these foods.
A pressure canner is not the same as a pressure cooker or electric multicooker. Use equipment designed and tested for home canning, then follow a current research-tested recipe for the exact food, jar size, pack style, canner type, and elevation.
Why low-acid foods need a pressure canner
Low-acid foods have a pH above 4.6. In a sealed jar, the bacterium that causes botulism can grow without obvious changes in taste, smell, or appearance. Pressure canning raises the temperature inside the canner to about 240°F or higher when operated at the pressure specified for the recipe and elevation.
Use pressure canning for tested recipes that contain:
- Plain vegetables such as green beans, carrots, corn, and potatoes
- Meat, poultry, game, and seafood
- Stocks and broths
- Soups made from an approved formula
- Mixed foods that are not acidified by a tested recipe
Some tomatoes and tomato mixtures also need added acid or a specific pressure process. Follow the recipe instead of classifying them by taste.
Choose the right pressure canner
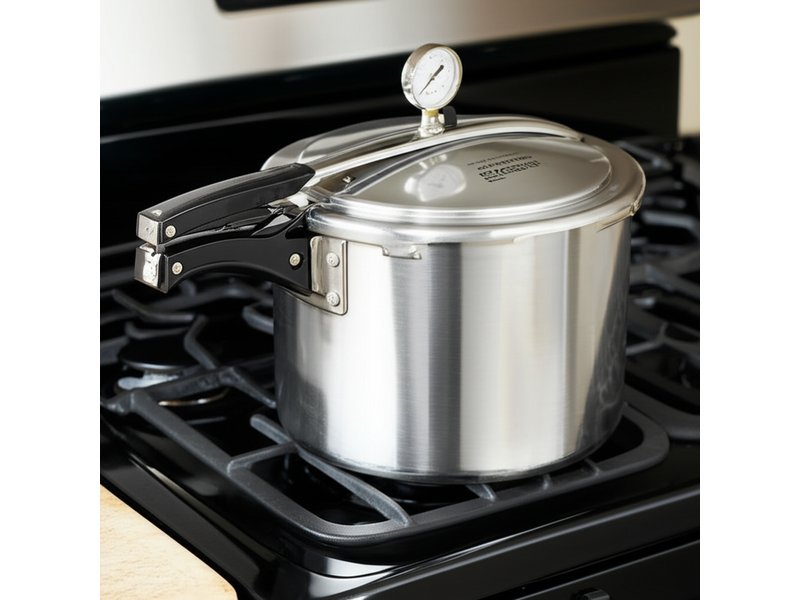
A pressure canner must be large enough to hold at least four upright quart jars on a rack. Smaller pressure saucepans and most electric multicookers do not match the heat-up and cool-down behavior used to establish USDA processing schedules.
There are two common gauge types:
- Dial-gauge canners show pressure on a numbered dial. Have the gauge tested according to the manufacturer or your local Extension service, generally before each canning season.
- Weighted-gauge canners regulate pressure with a weight that rocks, jiggles, or releases steam as described by the manufacturer.
Read your canner manual before the first batch. Inspect the lid, vent pipe, gasket, safety plug, rack, gauge, and fasteners. Clear the vent if the manufacturer says it can be cleaned. Replace worn parts with parts made for that model.
Prepare jars, food, and workspace
- Choose a current recipe from USDA, the National Center for Home Food Preservation, or a university Extension program.
- Confirm the allowed jar size, hot-pack or raw-pack method, headspace, processing time, and pressure for your elevation.
- Wash jars and inspect the rims for chips or cracks. Keep jars warm as directed.
- Prepare the food exactly as written. Do not add thickeners, extra fat, pasta, rice, dairy, or untested amounts of dense ingredients.
- Put the amount of water specified by the canner manufacturer in the canner. Pressure canners use less water than boiling-water canners; the jars are not submerged.
How to operate a pressure canner safely
- Fill jars one at a time. Leave the headspace listed in the recipe, remove bubbles when directed, wipe the rims, and apply lids fingertip tight.
- Place jars upright on the rack. Lock the lid according to the manufacturer.
- Leave the vent pipe open or remove the pressure regulator. Heat the canner on high until steam flows steadily from the vent.
- Vent a steady column of steam for 10 full minutes. Then close the vent or apply the weight.
- Let pressure rise to the level required for your recipe, gauge type, and elevation. Start the processing timer only when the canner reaches that pressure.
- Adjust the heat to maintain pressure. Stay near the canner and watch the gauge or weight for the entire process.
- If pressure falls below the required level at any point, bring the canner back to pressure and restart the complete processing time from the beginning.
- When processing ends, turn off the heat. Do not cool the canner with water, move it, lift the weight, or force the lid.
- Let pressure return naturally to zero. Wait as directed by the manufacturer before removing the weight or opening the vent. Unfasten the lid and tilt it away from your face.
- Wait the period specified in current guidance, then lift jars straight up and set them upright on a towel. Do not tighten the bands or press the lids.
Pressure changes with elevation and gauge type
The required pressure depends on your elevation and whether the canner has a dial or weighted gauge. Never substitute one number for another. Find your elevation, identify the gauge, and copy the correct pressure from the tested recipe table before you start.
Pressure does not replace time. A higher setting does not make it safe to shorten the published process, and adding extra time cannot make an untested recipe safe.
Cooling is part of the process
Natural cooling is included in the tested heat treatment. Rushing it can cause liquid loss, seal failure, broken jars, and underprocessing. Leave the canner closed until it is fully depressurized. A dial reading zero does not by itself prove that every model is ready to open, so follow the manufacturer’s sequence.
Check seals and store the finished jars
Leave jars undisturbed for 12 to 24 hours. Remove the bands and check the seals. Refrigerate any unsealed jar and use it promptly, freeze the food in a suitable container, or follow current research-based directions for timely reprocessing.
Wash residue from sealed jars, label them, and store them without bands in a cool, dark, dry place. For best quality, plan to use home-canned food within about one year unless the product guidance says otherwise.
Unsafe pressure-canning shortcuts
- Using an electric pressure cooker or small pressure saucepan as a pressure canner
- Skipping the 10-minute venting period
- Starting the timer before the correct pressure is reached
- Allowing pressure to fall and continuing the old timer
- Forcing the canner to cool
- Changing jar size, ingredients, density, or pack style
- Using a recipe generated by AI or copied from an unverified website
- Tasting food to decide whether a questionable jar is safe
What to do with a suspect jar
Botulism toxin cannot be seen, smelled, or tasted. Do not taste food from a leaking, bulging, unsealed, spurting, moldy, or otherwise questionable jar. Keep the contents away from people and animals. Use the disposal directions from the National Center for Home Food Preservation.
The University of Minnesota Extension botulism guide also explains why low-acid foods require pressure canning and why pressure must be maintained throughout processing.
Your pre-canning safety check
- The recipe comes from a current research-based source.
- The food, jar size, pack style, headspace, time, and pressure all match.
- The canner is a true pressure canner in working condition.
- The dial gauge has been checked when required.
- You know your elevation and the correct pressure.
- You have enough time to vent, process, and cool the canner without rushing.
Keep the tested recipe beside the stove and mark each completed step. For high-acid fruit, jam, jelly, pickles, or acidified tomatoes, use an approved water-bath canning process instead.