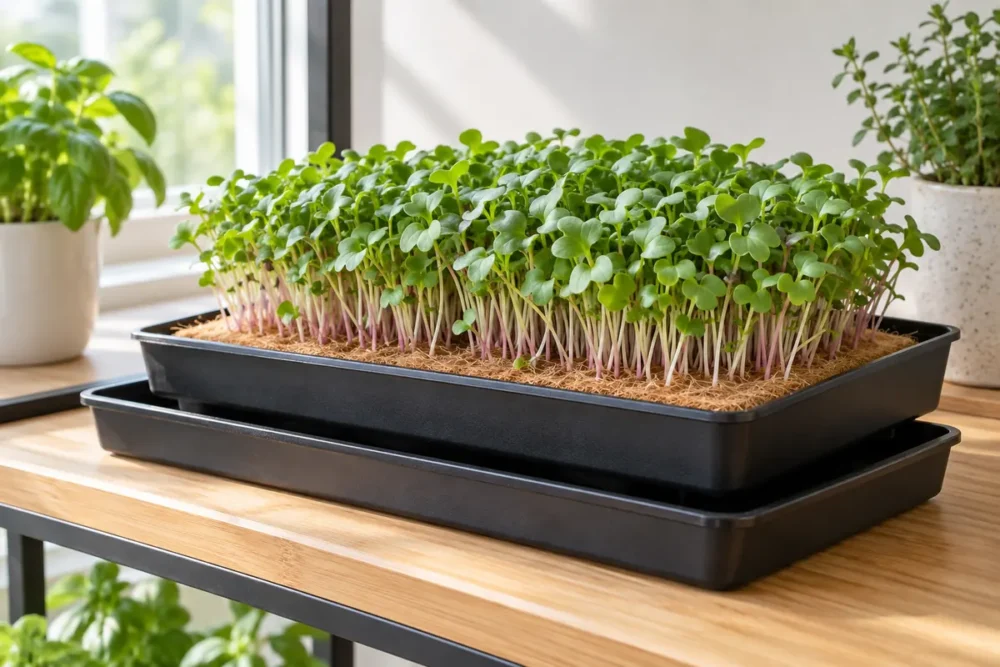
You can grow microgreens without potting soil by rooting the seeds in a clean growing mat set inside a draining tray. Moisten the mat, sow seed evenly, keep it damp without leaving water around the stems, then give the seedlings steady light after they emerge. Cut the greens above the mat with clean scissors. This is a small, practical setup; it does not require a pump, nutrient reservoir, or a claim that every crop grows equally well on every mat.
Start with one tray. Radish is a sensible first test because the seed is easy to spread and the crop makes it clear when moisture or light needs adjusting. If you are new to the crop altogether, read our indoor microgreens tray guide first.
What counts as a soil-free growing medium?
A coconut-fiber or jute growing mat holds moisture and gives roots something to grip. It is a growing medium, even though it is not soil. A reusable food-contact mat may also work if its maker provides cleaning instructions. A tray of water alone is harder to manage because seeds can drift and roots need support and air. Penn State Extension describes mats alongside peat mixes and coconut coir as growing media for microgreens; choose a mat made for edible crops and follow its instructions.
| Option | Good fit | Watch for |
|---|---|---|
| Coconut-fiber or jute mat | A small trial tray with easy-to-spread seed | Dry edges, uneven contact, and single-use material |
| Reusable food-safe mat | Growers willing to clean it thoroughly between batches | Roots caught in the mat and the maker’s sanitation limits |
| Seed-starting mix | A comparison tray if a crop struggles on a mat | Loose medium on harvested stems; this option is not soil-free |
The least expensive choice depends on the mat price, cleaning time, failed trays, and how much you actually eat. Do a side-by-side trial before buying a case of supplies.
Supplies for one soil-free tray
- A shallow, food-safe growing tray with drainage and a solid catch tray underneath.
- A clean mat sized for the tray, plus seed sold for growing edible microgreens.
- Clean drinking water, a bright window or suitable grow light, and clean scissors.
Check seed labeling and lot details in our microgreens seed-buying guide. Use crop-specific directions for soaking and sowing density; pea and sunflower seed behave differently from small radish or broccoli seed.
How do you plant and water microgreens on a mat?
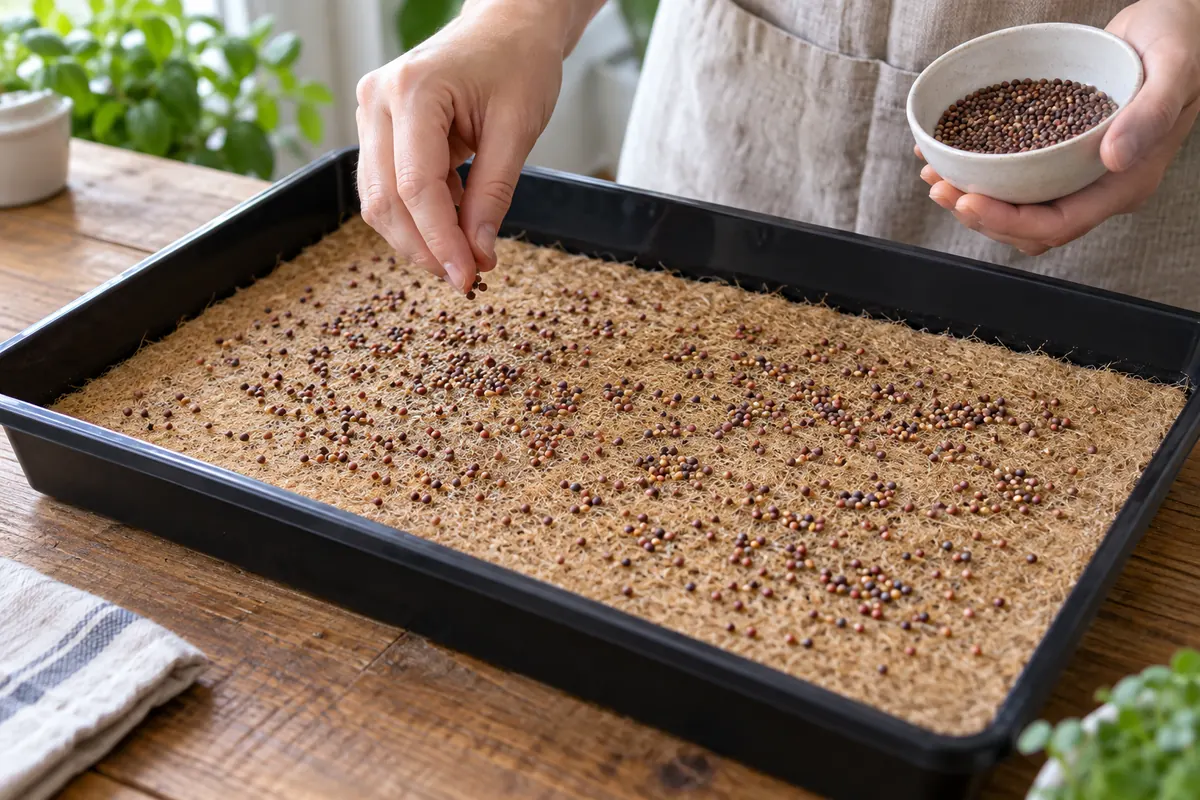
- Clean the setup. Wash the tray and tools, then prepare the mat according to its maker’s directions. Wet it with drinking water and let excess water drain. It should be damp throughout, not floating.
- Sow evenly. Spread one crop across the mat using the seed supplier’s suggested density. Leave enough room for airflow. Press gently where the crop instructions call for seed-to-mat contact.
- Help germination. Some crops benefit from a brief cover or gentle weight; others need different treatment. Check the packet each day rather than using a fixed blackout period for every variety.
- Move into light. When shoots emerge, remove any cover and provide steady light. A window can work, while an appropriate grow light helps in a dim room. Keep electrical equipment away from splashes.
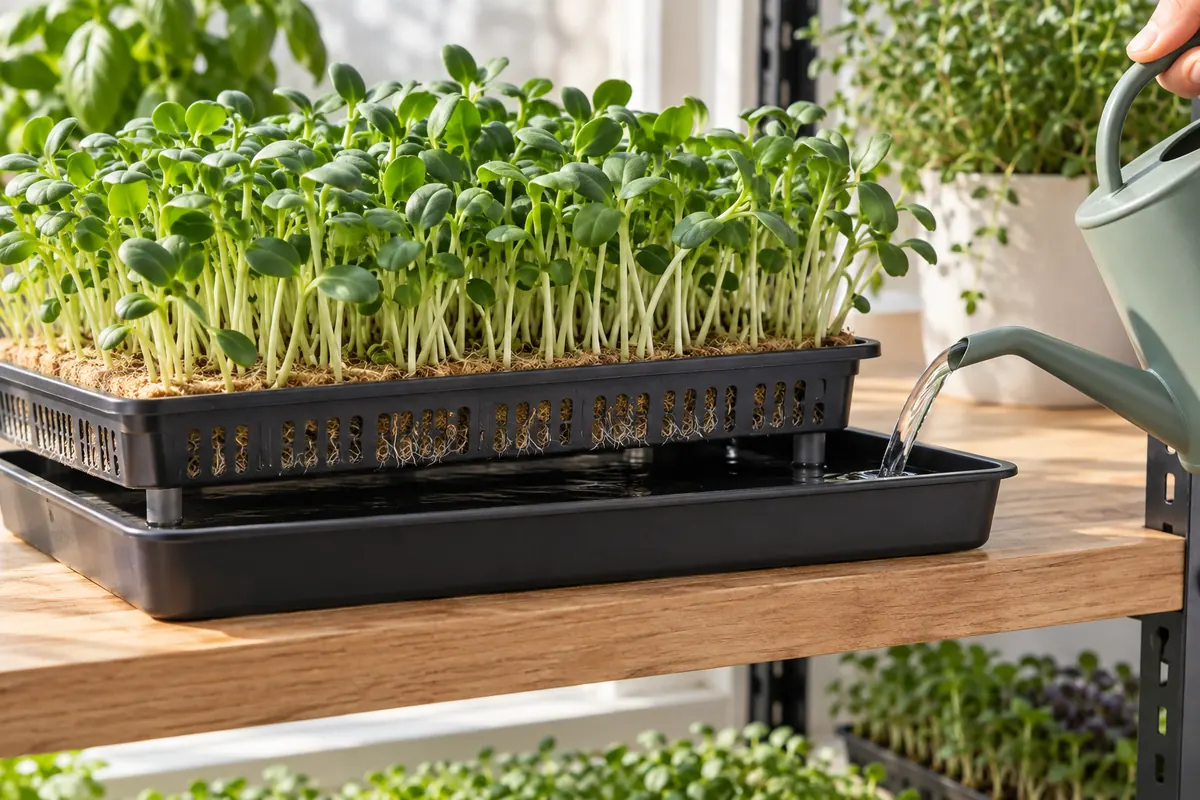
- Check the mat daily. Lift a corner or feel the surface with clean fingers. If it is drying, add a modest amount of water to the catch tray and let the mat take it up, then empty excess water. Do not leave stems sitting in standing water.
- Harvest cleanly. Cut above the mat at the leaf stage suited to the crop. Keep fibers and roots out of the food, refrigerate promptly if you are not eating the harvest right away, and clean the equipment before another batch.
What if the mat dries out, smells bad, or grows mold?
Dry patches can leave gaps in germination. Check that the mat lies flat and wets evenly; adjust the tray before adding more seed. Pale, leaning stems may need more usable light after emergence. If the tray stays wet or has an off smell, improve drainage and airflow. Discard a visibly moldy crop rather than spraying edible leaves with a home remedy. Wash and sanitize the tray and start with a fresh mat.
Microgreens are often eaten raw. Penn State Extension’s food-safety guidance explains how seed, water, media, and handling can introduce contamination. Use clean equipment and potable water. If you plan to sell a crop, check the rules for your location and sales channel before scaling up.
Is soil-free growing better than a seed-starting mix?
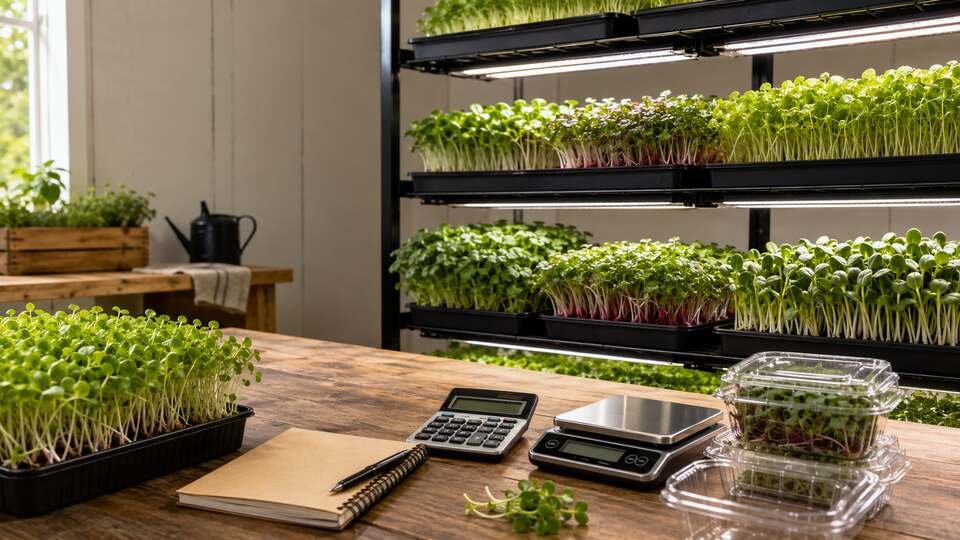
It can make harvest tidier, but it is not automatically faster, safer, or cheaper. Penn State notes that seeding mats can leave harvested greens cleaner than potting soil. Compare the two methods with the same seed, light, and tray size. Record germination, saleable harvest, water use, cleanup time, and cost. If your goal is reliable home greens, the method you can keep clean and manage consistently is the better choice.
For crop ideas, see our beginner varieties guide. If you are weighing a larger grow setup for sales, use the microgreens business-plan template to test buyers and costs before adding racks.
Sources: Penn State Extension, home growing; Penn State Extension, growing media; Penn State Extension, food safety. The images illustrate the setup and do not depict a product test.